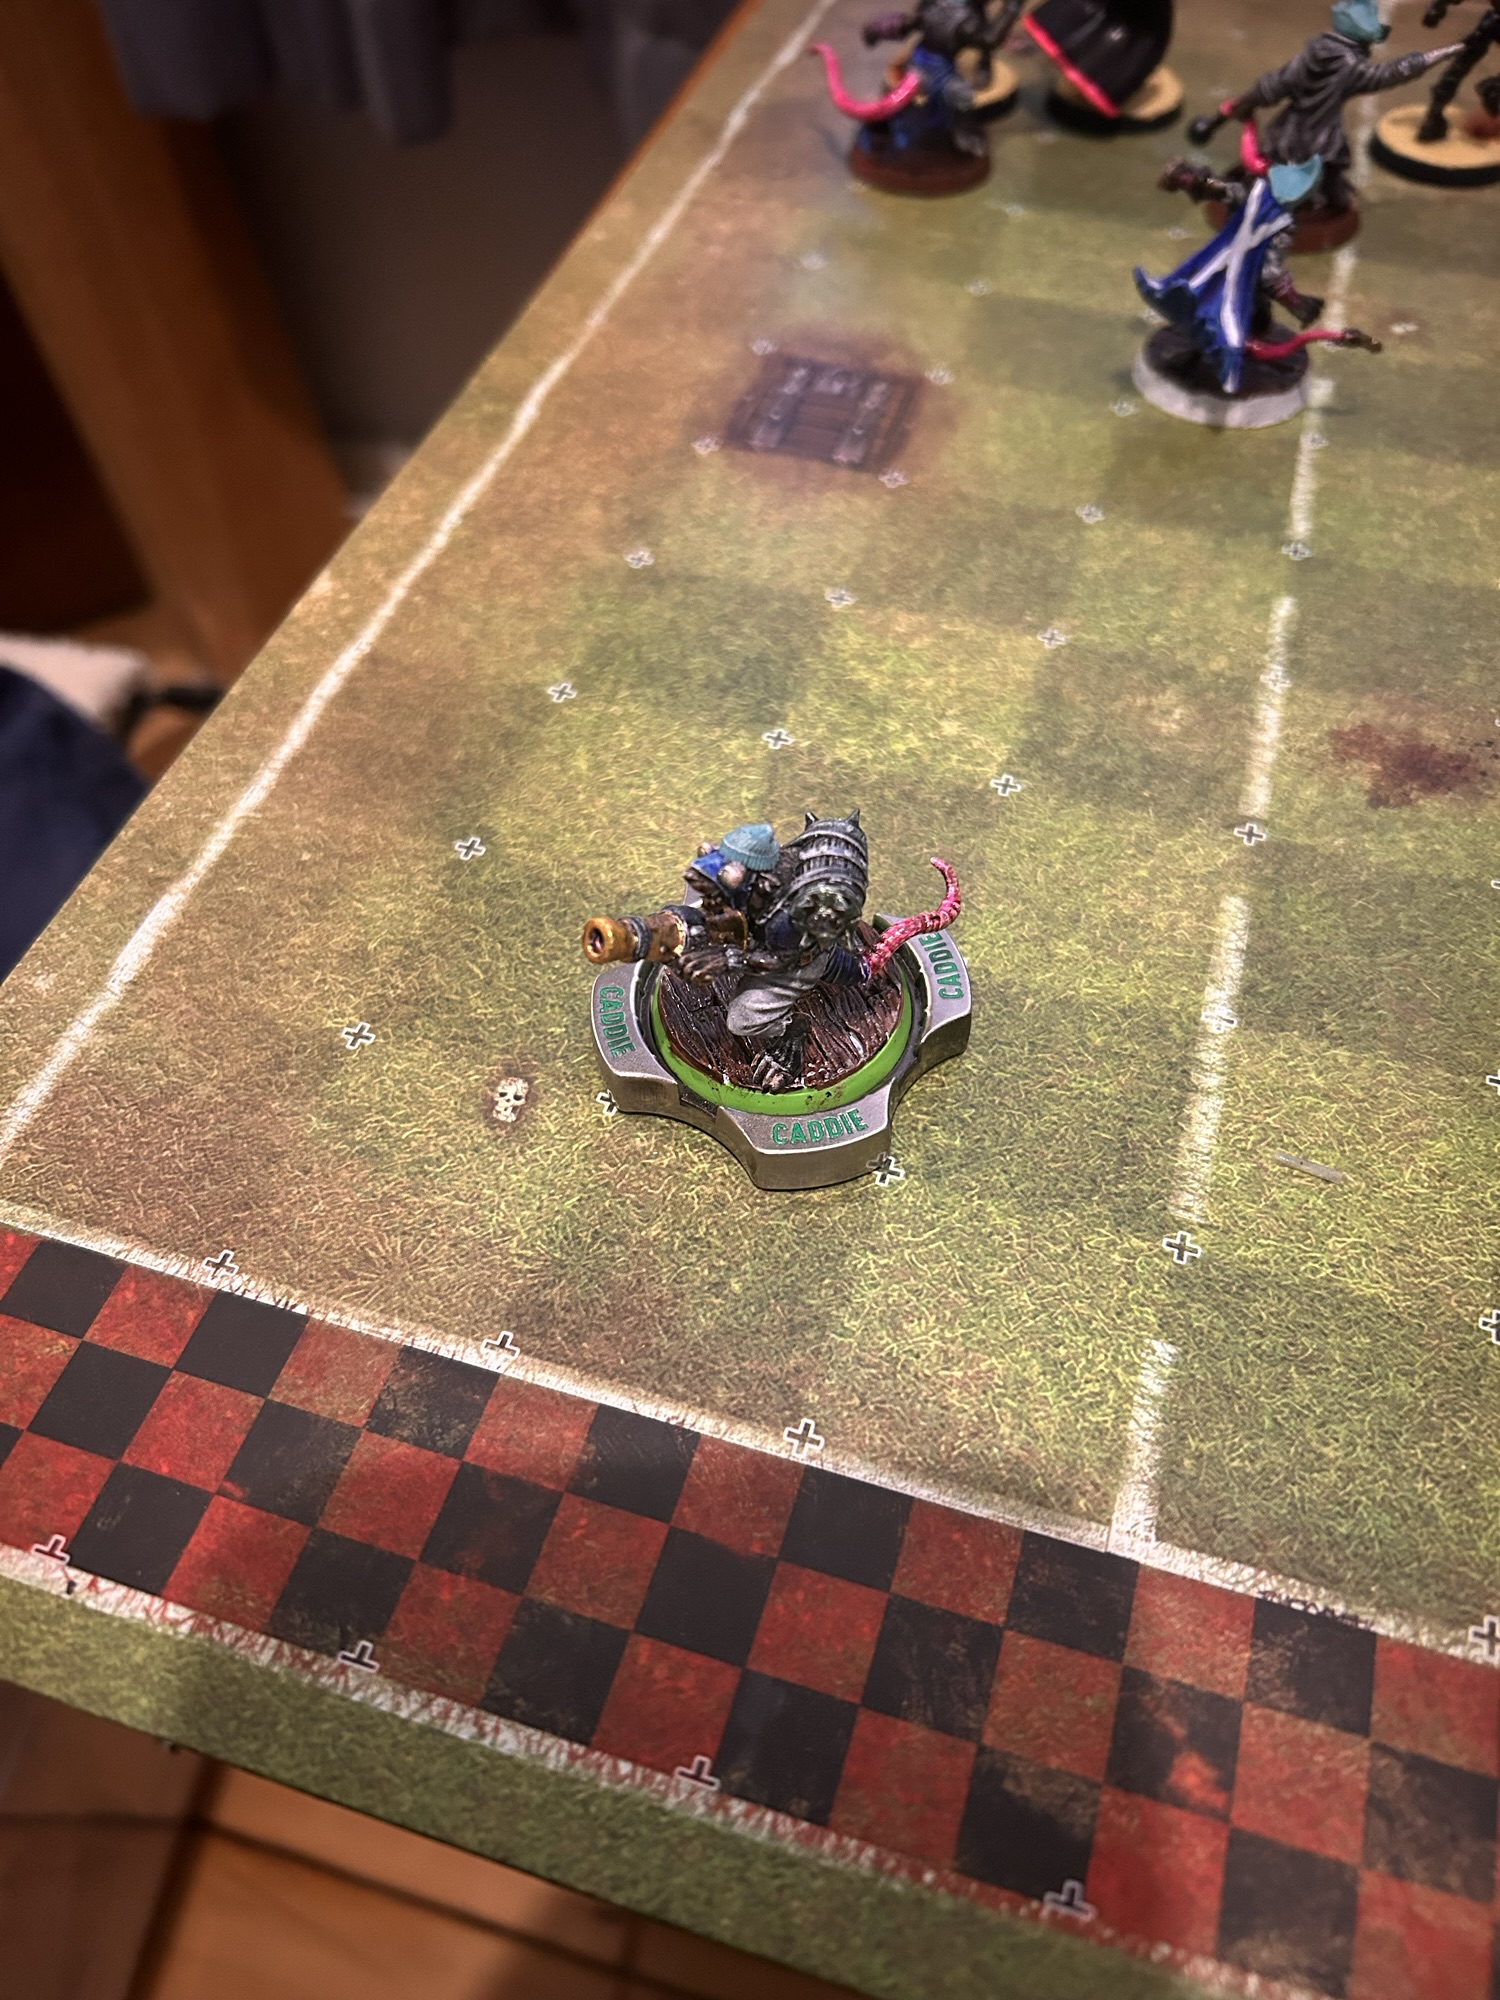

(and avoiding rocks to the noggin)
Usually the ideal drive involves scoring on the final turn of the half. The “8-turn score”. This gives your opponent the minimal time to respond and, while one turn touchdowns are possible, having 2+ is much easier!
The strategic act of stalling refers to getting into or near scoring range and then winding down the clock.
Some people aren’t a fan of this playstyle, but it often simply is the most effective way to win. So, if you don’t like it, the best plan is to find ways to stop it from happening, and that’s what this post will talk about.

The Stalling Rule
Historically, if a player decided to stall, it was up to the defenders to try to exert pressure and force them to either score or to risk losing the ball and not scoring at all.
Now, the defending side has been helped (a little) by the anti-stalling rule (p80 of rulebook). This rule has introduced an extra element of risk when a team is stalling early in a half.
The Stalling rule is triggered when a player with the ball is activated who could score without rolling any dice and who then chooses not to score.
The earlier in a drive that you begin making Stalling rolls, the more likely that the crowd will take action. T7 is completely safe (as written, this might change to a natural 6 following FAQ), T6 is 1 in 6, T5 1 in 3, T4 1 in 2. “Crowd action” here means knockdown of the ball carrier, armour roll and ball scatter.

Forcing a Stalling player to score.
The answer to an opponent choosing to stall isn’t relying on the Staling rule but rather is forcing your opponent to consider stalling to be too risky.
What constitutes too risky will vary from player to player as we all have different appetites for risk and different levels of confidence in our ability relative to racial matchups in stopping a resulting short drive (for example, I’m not all that scared of giving teams like Dwarves or Tomb Kings a two-turn so would be less likely to risk stalling vs them).
It is always better to score on your drive and have a chance at stopping your opponent than to not score at all.
How do you make stalling risky?
We’re going to assume that they’ve done a good job in ball protection, and you can’t cage dive effectively.
First use any available safe moves to get players that are away from the action closer to the ball location.
Remember that they might move the ball and its cage deeper or to the opposite side on subsequent turns. So don’t be like a Under 9s football match chasing the current ball location only. Instead, make sure the additional pieces a placed where they can screen off your opponent’s options, allowing you to keep them bottled-up in increasingly smaller spaces.
Note: a M6 piece can reach both side lines from the centre square… there is no need to send everyone down a wide zone
Then press in. Once you have sufficient resources in position.
Don’t go in piecemeal one at a time as this is easy to solve, rather send every piece you can to engage on the same turn. As usual, the mantra is “all-in or not-on”. The more dice rolls they need to get safe again, the more likely it is that they will decide it is too risky or, if they risk it, that they will fail something.
If you have a cage-dive option, you can try this after moving everyone else all-in; demonstrating that you are willing to try to get lucky might have the psychological effect of making the position feel riskier!
Foul, Foul, Foul?
An alternative approach of making it unappealing for your opponent to stall is to make it clear to them that stalling will result in their team being heavily depleted.
Any player left away from the stalling crowd now needs to be focused for, ahem, special attention in the form of a little bit of stomping.
If your opponent’s levelled up Wardancer is facing the prospect of getting a shoeing every turn until he is very unwell, then that might be sufficient to convince them to score.
This is only really likely to be effective in progression format play or possibly in the first half of a resurrection game.

A tactic of ignoring the ball and getting busy punching and fouling is a viable way to approach playing matches.
The game plan of “Injure everything in the first half then score a one turn touchdown, or two TDs in the second half vs hardly any players” can work very well, but is reliant on high rolling the armour/injury rolls, and so is quite high variance.
This is one of the standard ways to play Underworld Denizens. Their strong one turn TD, and cheap Goblins/Snotlings is well suited to this game plan.
Using the Stalling rule defensively
Because of the easy workarounds available (discussed below), it usually isn’t very effective to only use the stalling rule as a pseudo defensive strat. But can we make it a little more relevant?
On early turns, the risk of crowd involvement is quite high. This can mean that you could try to offer space to entice your opponent into scoring range and then try to force them to activate the ball carrier and hence make the stalling rule effective.
This isn’t simply not defending (e.g. focusing on banging in the centre). Tather it is about offering space and then leaving no option other than scoring (or being rocked).
To carry out this strategy, you would need to exert pressure on the ball without directly touching the ball carrier and without fully blocking their route to the line.
That approach involves taking out a cage corner so that the carrier starts their next turn in range, in a position that isn’t safe, and can’t be made safe without moving other pieces or rolling scary dice (e.g. multiple 3+ dodges or blockless blocks). It is quite tricky to engineer.
Stand Firm and Sidestep might play into this strategy well, as your opponent might struggle to clear a nearby but not touching player.
With this somewhat unusual detached-pressure applied, you would mark up every other piece that they could pass or hand off to, thereby limiting their options to scoring or risking the crowd involvement.
This “forcing the early score” as a strategy requires your opponent to have moved into range, and that is the part that might be hardest to actively force early in a drive. Most likely it will involve offering trap space and then closing the backdoor to keep them moving forward, and likely will only work if your opponent is carrying on a high MA carrier.
Example.
In the pic below the Skaven Gutter Runner has the ball (white rim on base). The Necro have Powed down the front of the cage but decided to NOT be in contact with the ball carrier.

From here the GR can score with no dice required. Therefore when he activates he would trigger the stalling rule. Importantly, all the other moves the Skaven team would need to get a semblance of safety all involve dice rolls. Therefore the Skaven coach has to decide between a) risking the stalling roll without any protection, b) perhaps making at least one 3+ dodge to give a weak screen before making the stalling roll, or c) scoring.
If you imagine the same scenario where the Guard Wraith is one square to the left, touching the GR. Then the Skaven team could choose between a wider selection of plays; they could take the 2+ GR dodge (with Dodge) whenever they wanted in turn ordering, wherever they put that rat he wouldn’t trigger a potential crowd-rock and therefore screening pieces could be put in after the ball carrier had moved.
As the defending (Necro) coach, you’d be deciding between your opponent likely taking the score but without really any chance of failure vs your opponent possibly choosing to burn another turn of clock but where a 3% (snake eyes) would lead to a turnover and possibly a different 1/9 roll would give you a shot at the ball carrier.
A little bit of realism
I start each drive thinking that I can turn-over or at least stop the score. I only pivot to thinking about forcing an opponent to score early when it is clear that those first options have gone. Therefore, the stalling rule barely ever comes into play; either it is too late (after T6) or I’m playing in their face, trying to destabilise the drive or enact a turnover.
This is the reason any strategy predicated on using the Stalling rule for an advantage isn’t particularly relevant. Although, It might be more relevant when playing against less experienced players who will perhaps accidentally stray into stalling range.
My overarching message: if you don’t want your opponent to stall, then the best plan is to force your opponent to stop stalling by using pressure.

Delaying Your Score
(aka Stalling)
“Stall Square”
Before we get on to how to wind down the clock, let’s quickly acknowledge the best spot for the ball carrier to stand.
If your opponent can reach you for a sack attempt, then you should stand more than one square away from the edge.
This is simply as you don’t want the player being knocked down and the ball bouncing into the crowd. If no player can get to the ball, you can choose to move closer to the edge or endzone.
The so-called “stall square” is two in from the sideline, two up from the endzone.

This square isn’t necessarily much better than others in scoring range but technically is the easiest to screen off with the fewest number of pieces, while still affording protection from a scatter into the crowd if your oppo starts rolling 6s.
Stalling formation considerations
To be able to burn the clock you need the ball carrier to be safe. No surprise there. That simply means using all the tools we’ve been talking about so far in this series; screens and cages.
If you are on the stall square, i.e. have ran past the defence, then you might need only to defend from retreating defenders rather than from all angles.
As usual we need to consider whether it is better to make our opponent’s make more dodges or harder dodges. That decision comes down to opponent Ag stats, skills, and numbers of RR available.
The ideal formation has layers. In the pic below, I’ve given the rat on the stall square a bunch of friends. The close “shell” provide traditional cage-like overlapping TZs. The second “shell” clearly means to get through to the first, multiple rolls are required.

The Dark Elves on the horizon could get in to hit the ball by rolling dodges down the side-line (343332) or come in the side on a (45), and while they could make those rolls. If they fail, then it would be relatively simple to tidy up the formation again and wait out another turn. Even if they succeed, they are getting 1D or -2D on the ball carrier with very little recovery opportunity.
So, the ball hit isn’t all that attractive. Instead, the DE might choose to bring pressure instead. As above, try to force the score.
The two shell variant means that the blitz hits the outer shell piece, and, the ball carrier won’t be in base in contact with any player. They could choose to score safely without rolling any dice.
In addition, the defending team might not be able to bring sufficient pressure on the inner shell, meaning it should be possible reposition to delay scoring for another turn.
Important point – if you are deciding whether to stall, make sure you consider if a player will end up in contact and how you will deal with that when it comes to scoring on subsequent turns.
Working around the Stalling rule
Stalling is all very well, but what about the rule?
Firstly, we should acknowledge that a small chance of getting pinged by a rock might be an acceptable risk compared with the alternatives.
For example, if you have the local area of the board in complete control with multiple layers of screen (like above), then pinging the ball carrier would only generate a pick up roll.
Remember that the rock throw is a turnover, so make sure you have your screen in position first before activating the ball carrier.
But what else can we do to get around the rule?
Stay out of range!
The most obvious option, of course, is not to go fully into stalling range in the first place. As soon as you are one rush outside of scoring range, you aren’t stalling. So, you could sit back until T5, take that final square forward on T6, hang out on T7 and run it in on T8.
This isn’t just the most obvious, it is the easiest too. On a standard drive (where the ball was kicked to you), your drive tempo really is aimed at entering scoring range quite late anyway.
The exception is turnover situations, when you acquire the ball already in scoring range.
Suffer a turnover
The most important wording of the rule is “when activated“. If you suffer a turnover before you activate the ball-carrying player then they are not deemed to have stalled.
This gives quite a simple work-around option; choose to “suffer” a turnover.
One of your pieces that isn’t essential to the ball protection part can do a series of dodges until they fail, et voilà, not stalling. Of course, this will be the time when you roll back-to-back-to-back 6s! The player that has eventually managed to carelessly throw themselves at the ground, like a Footballer at the slightest of touches, risks getting hurt, but you aren’t risking the score.
The problem with this strat, is that it is only really an option if the ball-carrier is already safe as you can’t activate them before suffering this turnover. This is a useful point for the defenders; if you can make it so the ball carrier has to activate to get safe then these sorts of shenanigans can be avoided.
Roll some dice
Another option to avoid stalling is to roll a dice involving the ball carrier; a pass or hand off. If you are completely dominant, you might want to do this anyway to get some SPP on one of your harder to level-up pieces. We’ll come back to levelling up and scoring on the “right Elf” in a later post.
The risk of catching a hand off might be the same or better than the stalling roll but it has the advantage that it doesn’t risk your ball carrier getting injured. Remember that a catch could also use a team RR when you are working this out, so even a 4+ catch with RR (75% success) is less risky than even a T5 5+ crowd involvement.
Change the board state so the player isn’t stalling
If you found running around trying to suffer a turnover a bit sneaky, this option is sneaky + clever.
If a stalling player needs to roll a dice to score, then they aren’t stalling. So how can you make them need a dice roll? Well plonk some of your pieces in the way between them and the line, making the route longer, meaning that they would now need a rush to make it over the line.
In the pic below the Skaven Gutter Runner (M9) is caged up and safe, but is 9 squares from the endzone and would trigger the stalling rule when the GR was activated. However, the Necro have messed up and there are plenty of free pieces…

The first action on the Skaven turn could be to pop a piece into the front of the cage. For example the Thrower from the rear of the cage, could slot in. Next the ball carrier can activate. From this position, the GR would now have to take one step laterally before making their sprint to the line… meaning they aren’t stalling.

The GR can move downfield and without any dice rolls end up in a position like below. The Necro aren’t going to bring much pressure next turn as everyone is stuck on halfway. Therefore the rats could probably even hand off to the other GR next turn and burn more clock.

I first wrote a version of the paragraphs above in Nov 2025, when the rules had just come out.
I’m writing this blog post in Nov 2026, having played ~100 NAF tournament games in 2025 rules, + TT league play, online games on FUMBBL, and recently on the Warhammer Blood Bowl beta, and I can say that the stalling rule does come up and I have scored TDs early because of it. However, it doesn’t come up very often. Usually it is quite easy to manage the drive such that you only enter scoring range on T6.
The plan above of running around to suffer a turnover hasn’t come up often (if at all) either for or against me.
Some Examples
I went through my camera roll looking for options of pics to illustrate a real position… apparently I don’t take many pics of games once they are into stalling formation.

In the version above the Ghoul to the far left is in scoring range with the ball and I’ve assembled a bit of a two layer screen; the wrestle zombie and naked skele in layer 1 and the blodge Ghoul and Guard Wight in layer 2.
The Orcs could have gone for the dodge down the side-line for the hit on the carrier but it was quite early in the drive and Dusher (as the Orc coach) elected to dodge and rush players around into an elf screen.
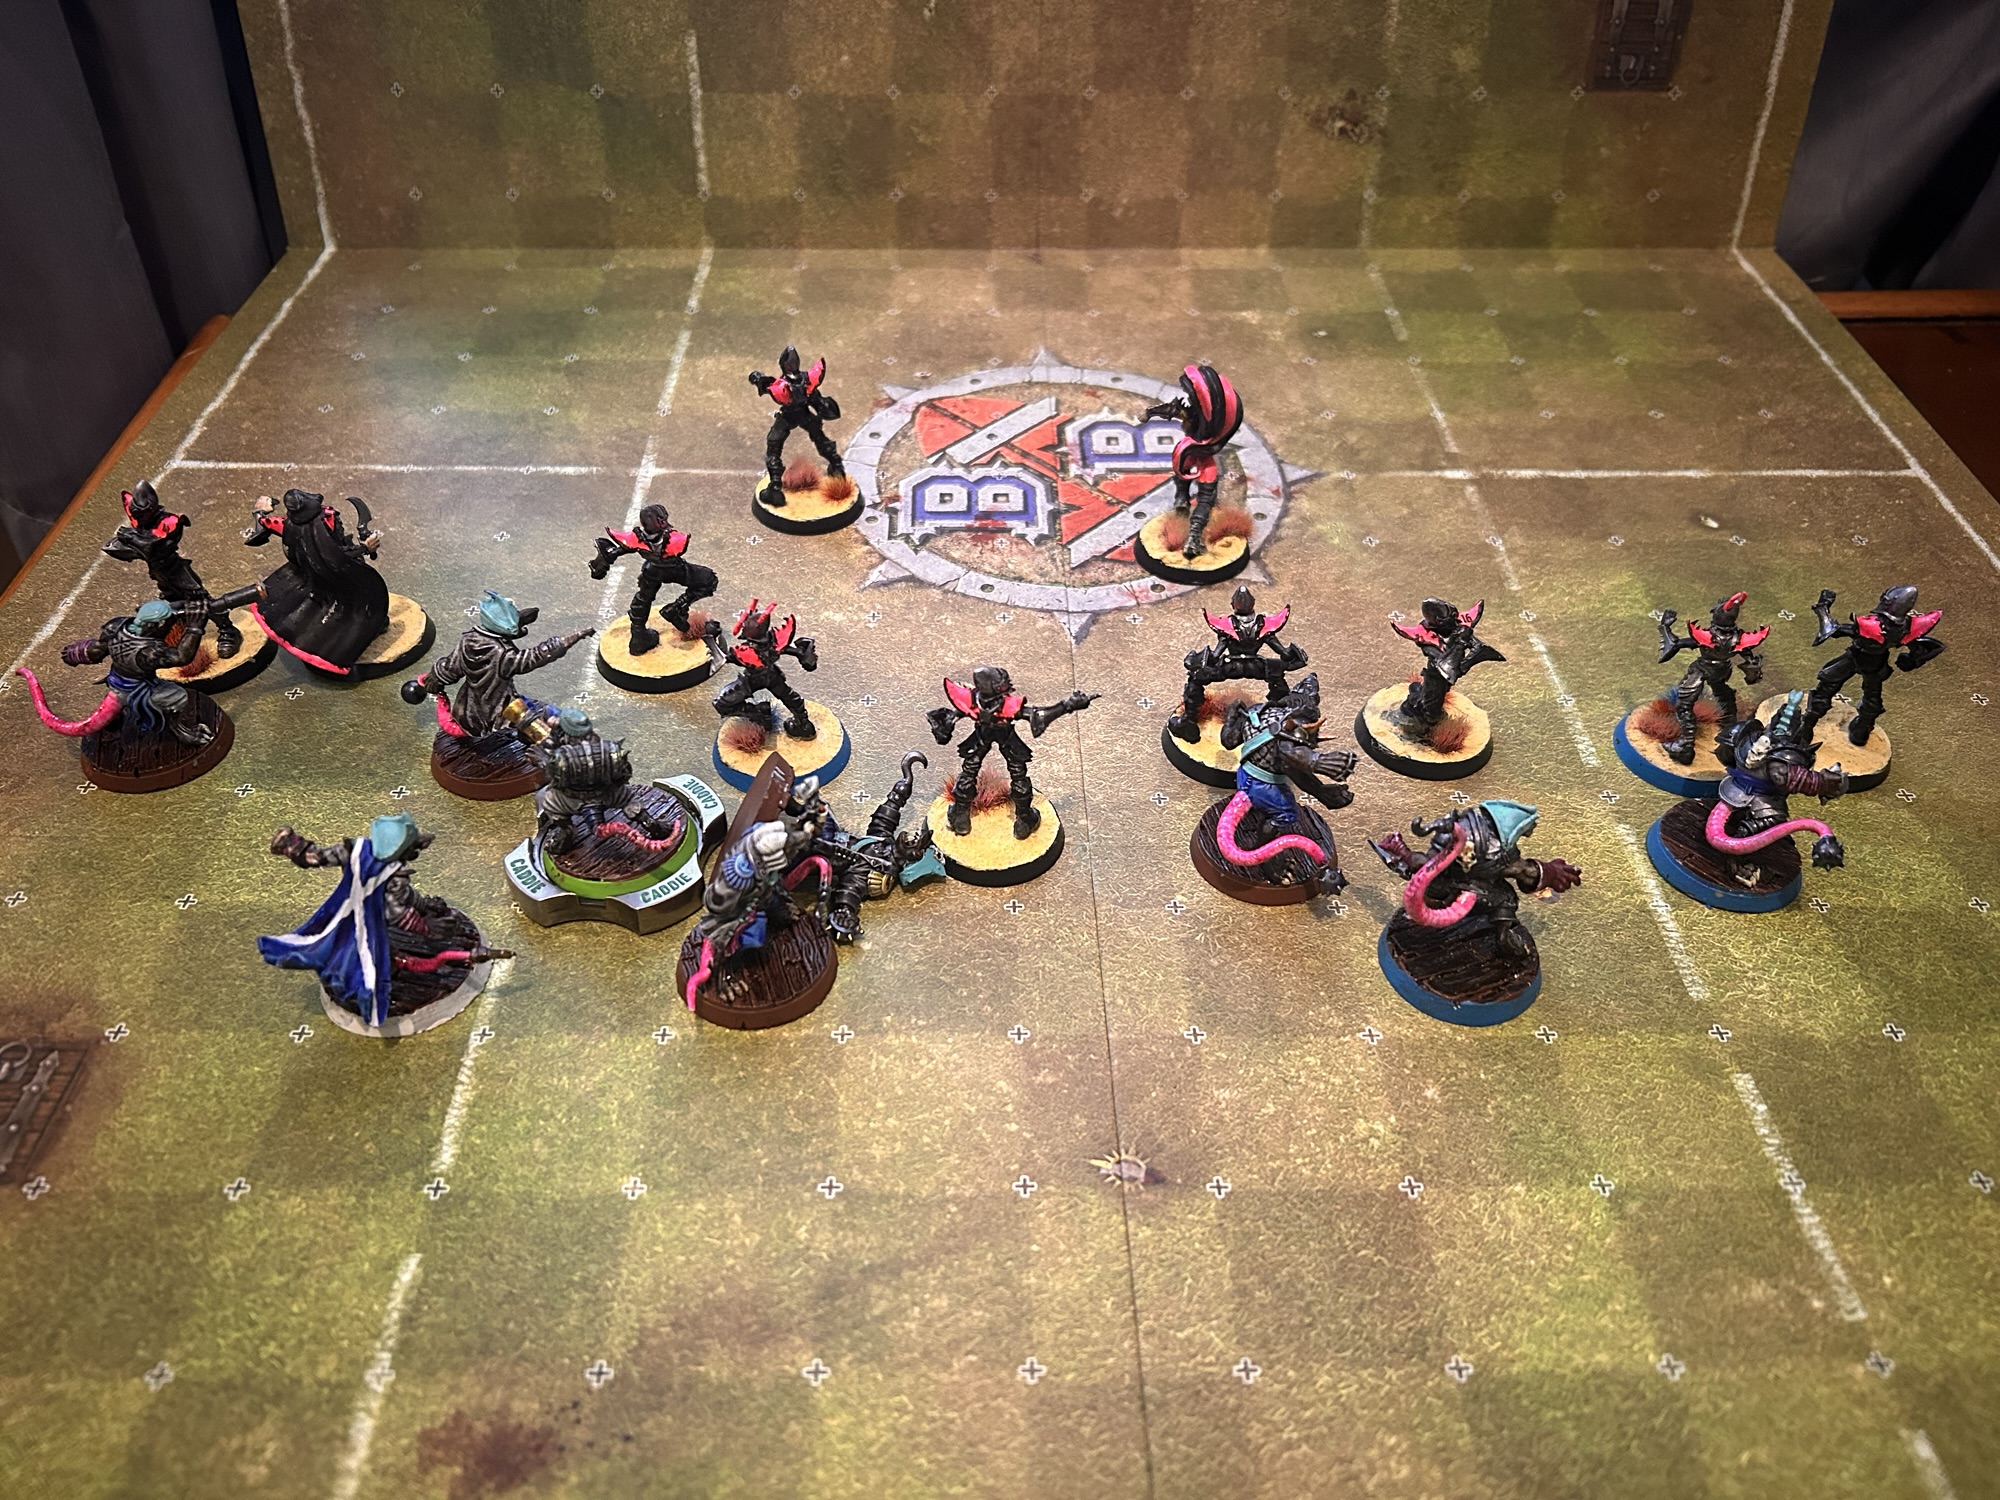
This one looks ridiculous at first glance. And at second glance. However, then I remembered that this is from the NAF championship (2025, old rules) and their pitches are very small. There is an empty rank down the left hand side, so, although it looks like everyone is about to get surfed, it’s actually a full meat cube with the ball-carrying Thrower in front of the Scotland cloak pretty safe. Worst case, I’ll have a 2+ handoff to one of the GRs to score. I did score but, yes, it was ridiculous.
That’s it for this week, buttons below will take you to the other posts in the series.
The upcoming few posts will start to deal with ball handling… can’t score if you don’t have the ball.

Enjoyed this? Found it useful?
This is part of an expanding series, come back next week for the next installment.
The text here originally came from our book – Blood Bowl Strategy: Third Season Unofficial Strategy Guide — I’ve made some edits to make it more suitable for online posts. The book is a complete guide to positioning, tempo, drive planning, defensive structures, offensive patterns, league development, inducements, and tournament preparation. 266 pages, ~74,000 words of our collective wisdom designed to take you from a beginner to a >50% win rate coach.
We will be posting excerpts from the book over the coming months – you can subscribe to the blog to receive notifications and the next basics post straight to your inbox.
Physical copies of the book are available on Amazon (check your own country’s listing – e.g. amazon.co.uk here). Or I usually have a box of books with me at UK tournament events. Or message me if you want to buy a batch.
Digital copies of the PDF are available via the button below:


Leave a Reply