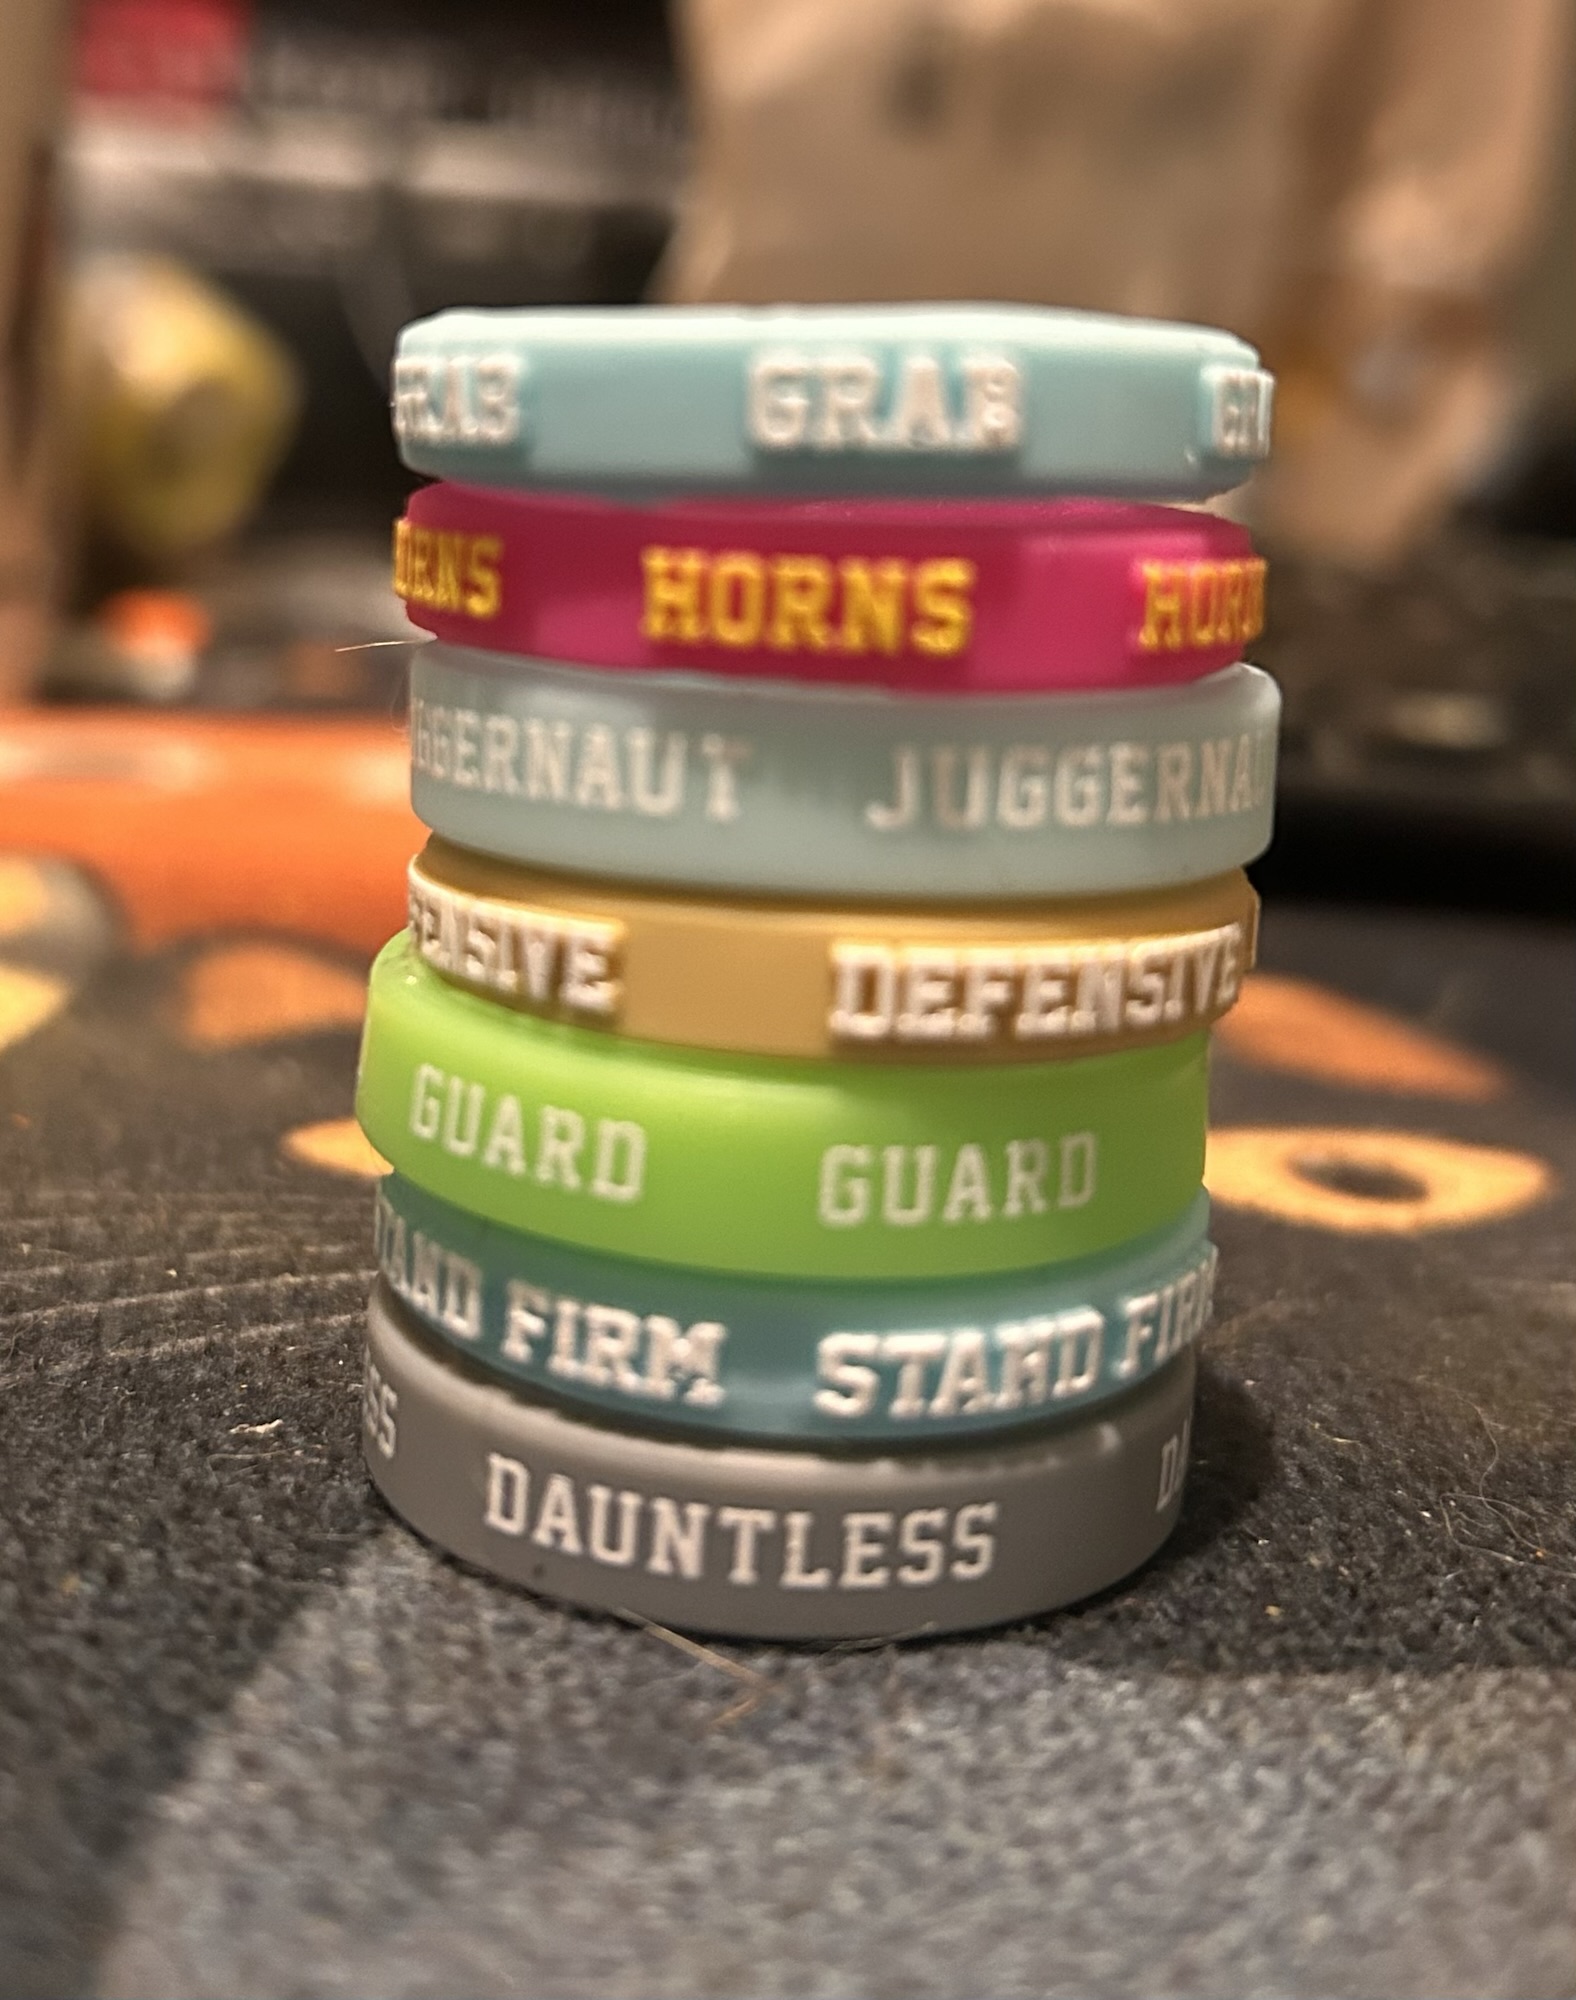

Block, Dodge and Tackle are baked into the block dice, and you should know what they do. However, many other skills also affect the outcome and should be learned early.
This post deals with some the skills that directly affect block outcomes. We’ll cover some others. e.g. those that affect damage outcomes in later posts. We’ll also going to cover skills related to things like cage-diving, follow-ups and Special Actions separately.

These buttons will take you to the entry on this page for a specific skill:
Minis pics – most of the pics on this page come from Andrew Davies collection plus a few from Christian Kewin. The poor quality paint job ones are my own! There’s a slideshow at the end.

Wrestle
Wrestle allows the player with the skill to choose to go down on a both-down result without rolling for armour breaks. This works offensively and defensively and if a player with Wrestle choses to go down, then both players hit the deck (gently).
Stats-wise, Wrestle gives the same protection from suffering a turnover as Block but can bring to the ground blocked pieces more often (albeit without armour rolls). If you’ve generated a chance for a hit on the ball carrier and are choosing who to send in for the sack when the carrier has Block, then using a Wrestle piece is a good choice as it makes the takedown the same odds as if hitting a player without the Block skill; e.g. a 1D goes from 33% to 50% before RRs to get the ball on the ground. The obvious disadvantage is that your player is on the ground too.
For this reason, you should, generally, avoid carrying the ball on a Wrestle piece if you have block pieces available.
Wrestle also has a collateral benefit. Blitzing or blocking a Wrestle piece is usually not very appealing as the hitting piece can end up on the floor (and open to a foul next turn). Combining Wrestle with Stand Firm, as found as starting skills on Imperial Nobility Blockers, you present quite a strong encouragement to opponents to hit somewhere else when looking to make a gap through your line. This can be useful to shut down running lanes, or when you are short of numbers to have a deeper formation.
Note that Wrestle is cancelled by Juggernaut when the latter is used on a Blitz.
Sounds good? It certainly is useful. Wrestle is also not an Elite skill, so only costs 20k as a primary compared with 30k for Block. 10k doesn’t sound like a lot, but it adds up when you get to the stage of having skills on multiple linos.
In one of our later posts we will go into team development and specialising players. Wrestle, Tackle + Strip Ball is a combination you want to build toward for your primary ball sacker piece.
Camelchops Rating: S-tier. Block is better for most pieces but wrestle is a strong first pick.

Brawler
Brawler allows the attacking player to choose one Both Down dice and reroll it. This can be done during block actions only, not in blitzes. For a 2D block where a Pow / Defender Stumbles is needed, Brawler improves the outcome from 55% to 62%. This makes it a useful skill for a player that is going to get stuck in, increasing their damage output. However, unlike Block and Wrestle, Brawler doesn’t give the player any protection when it is getting hit. (Full outcome tables at the bottom of this section)
The increased knockdown chance with Brawler is great, but it is the failure state of a block action that we want to consider most often when deciding turn order. Here we need to be careful; if you reroll one Both Down result from a “dice pool”, then you can’t use a team RR to reroll the other dice. For a 2D block action with Brawler the overall failure state is 1/18 when using the Brawler vs 1/81 using a team RR. So, if the roll is critical, then the team reroll is better.
Remember that we recommend deciding what you will reroll before you roll…
Brawler is in the Strength skill-tree. As such, it is available to Big Guys who can access General skills only with secondaries. In a short-league format, when levelling up faster might be desirable, Brawler isn’t a bad pick, although Guard will likely help your team more. Otherwise, Brawler probably isn’t worth considering as a skill pick until very late in team development.
How good is Brawler? Let’s compare the odds
We’ll compare a Brawler piece with no other skills vs a defender with no defensive skills.
1D
| No Brawler | Brawler | Improvement | |
| Attacker Down | 2/6 = 33% | 2/9 = 22% | 11% |
| Push | 2/6 = 33% | 7/18 = 39% | 6% |
| Defender Down | 2/6 = 33% | 7/18 = 39% | 6% |
2D
| No Brawler | Brawler | Improvement | |
| Attacker Down | 1/9 = 11% | 1/18 = 6% | 6% |
| Push | 3/9 = 33% | 73/225 = 32% | -1% |
| Defender Down | 5/9 = 55% | 31/50 = 62% | 6% |
3D
| No Brawler | Brawler | Improvement | |
| Attacker Down | 1/27 = 4% | 1/60 = 2% | 2% |
| Push | 71/270 = 26% | 7/30 = 23% | -3% |
| Defender Down | 7/10 = 70% | 3/4 = 75% | 5% |
In these tables I’ve rounded the percentages but used the unrounded numbers to calculate the improvement… which is why the maths doesn’t quite add up sometimes.
Camelchops rating (as a chosen skill): D tier for General access pieces, B tier for a piece with S access only.

Guard
Guard is an Elite Skill that substantively changes block dynamics.
Guard allows players that are in a tacklezone (TZ) to lend an assist to a block. This is huge. In a big scrum of interconnected players, even just one Guard piece can slot in to lend an assist to lots of your pieces and unlock 2D hits. When we discuss team development later, Guard is one of the early recommendations for any piece that can access it (usually Blitzers and Big Guys or other high strength pieces). Simply having more Guard than your opponent can be the difference in a protracted fight.
Looking for places where you can insert a Guard piece for maximum benefit is an important skill to develop.
In the diagram below, the Orc Lineman with Guard could slot into the line in three different locations (X, Y, and Z) and for each one they would be available to act as an assist for a block.


For example, If the Guarder moved to position X, Blitzer #1 could hit the Ghoul A with 2D, whereas if the Lineman didn’t have the Guard skill and inserted there, he wouldn’t be able to assist, and it would be 1D.
But what if he moved to position Y or Z? Quick Quiz time.
Explanation
In position Y, the Guarder converts Blitzer #2 hit on C from a 1D into a 2D, whereas in position Z the Guard piece helps players on both sides: #2 again becomes a 2D, whereas the troll now has two assists and goes from 2D (55% knockdown) to 3D (70%). Guard is great.
If your opponent only has one or two Guard pieces, then often these are some of your high value targets when choosing who to take out with your blitz and/or fouls.
Camelchops rating: S-tier. All teams improve with more Guard pieces.

Defensive
Defensive is an annoying (aka good, depending on perspective) skill that stops opposition players from using their Guard skill when in contact with this piece.
Defensive only works on the defender’s turn, but it can make it become very hard to unlock a tightly packed defence. It is especially effective when the Defensive piece itself is high strength and hard to move. S4+ with Block and Dodge, Guard and Defensive is a player that is really hard to deal with, add Stand Firm or Side Step into that mix and you will frustrate a lot of opponents!
In the diagram we have the same players as previously but now the Mummy has Defensive.

Now, if the Guard piece slots into position X or Y it would have absolutely no effect on offensive hits but would still cancel defensive assists.
It would work as usual in position Z.
In position X or Y, the Guard piece would be effective on the Undead turn i.e. the Ghoul would have -2D (uphill) vs #1 Blitzer if the Guard was in X, or the Wight at position C would have -2D vs the Blitzer #2 or -2D against the Guard piece.
In terms of team development, you don’t need very many Defensive pieces in your squad. It is on the Agility Tree, so usually a secondary skill pick (40k) for the sort of piece you want to give it to. It is genuinely really good on high strength pieces including Big Guys after they have taken all the core fighting skills.
Camelchops rating: B-tier. Having 1 or 2 in a well developed combat focused/control team is good.
Video examples of Guard and Defensive

Juggernaut
Juggernaut can only be used on a Blitz action, not a normal block. On a Blitz “Juggs” lets you convert Both Downs into Pushes.
Ignoring Both Down changes a Block-less 2D blitz from 1/9 failure to 1/36 and increases your chances of getting a Push result from 55% to 75%. This makes it powerful for helping with one turn touchdown attempts, which usually fail on getting the chain pushes.
Juggs cancels Fend, and Stand Firm skills, so it really is useful whenever you need to burst a hole through a line or just move someone away. It synergises very well with Frenzy for this reason and you often see Juggs taken as an early skill on Rat Ogres and Troll Slayers.
Juggs also cancels Wrestle; usually this isn’t a big deal as you will be turning Both Downs into Pushes, however, it can be surprising and useful if you also have Block on the Juggs piece. As Juggs can only be used on a blitz, you might choose to use this piece to blitz rather than block to get these bonuses and reduce the turnover risk. For teams like Lizardmen where Saurus start with Juggernaut but no Block, this influences your turn ordering, usually you will want to take the safer Juggs blitz before a regular block without Block.
Like Brawler, Juggs is on the Strength tree. It’s a strong pick for Rat Ogres and Minotaurs, two pieces that frequently want to use to blitz with rather than block with.
Camelchops rating: A tier for blitzing piece with S access only. B-tier for others. Great skill for a piece that will be blitzing frequently.

Fend, Taunt, Stand Firm, and Side Step
I’ve grouped these four together as they give the defending player choices about what happens when have been pushed back.
Fend allows the defending player to decide whether the attacker is allowed to follow up* or not. It is cancelled by Juggernaut on a blitz. Good for dissociating your players without requiring a dodge and useful for space denial. There are a lot more impactful skills out there, so Fend is only usually only a very late skill pick (if ever, often it is better to save for Stat ups).
Camelchops rating: C-tier.


Taunt is sort of the opposite of Fend. It allows the defending piece to insist* that the attacking player follows up. It’s great for maximising hits available to your pieces. This is very effective at bringing players into spots that they’d rather not go. When hitting a Taunt piece you need to be aware of this danger. This is a good later pick for a dangerous piece to increase the number of hits they get per game.
Camelchops rating: A-tier on damage dealing pieces.
*We’re going to cover following up blocks in a separate post.
Stand Firm allows the defending player to choose to ignore Push results. This can be very effective at blocking channels or preventing progress. Stand Firm pieces are often not great blitz targets as if you don’t get them down, you will end up either stuck on them or needing to dodge away to avoid getting punched back next turn.
As the defending player, jamming your Stand Firm piece into annoying spaces can be effective at forcing your opponent to be uncomfortable situations where they end up using activations for no gain or are forced to risk a Dodge off.
Remember, you don’t have to use Stand Firm, sometimes being pushed back is a good thing, for example if going down on the spot would lead to a juicy foul.
In the recent FAQ it was clarified that Stand Firm also protects against Strip Ball if you choose not to be pushed back.

Like Taunt, Stand Firm often means the piece gets more opportunities to hit things. However, it is on the Strength tree, rather than General, so you see it as a taken skill more often on Big Guys. It is a good skill in general for any strong, tough pieces and Ogres, Kroxigors fall squarely into that category. Stand Firm is particularly useful on the Krox as it synergises with Prehensile Tail as this makes it harder for players to dodge away from the scary dinosaur.
Camelchops rating: A-tier on Stronger pieces.
Side Step allows the defending player to decide which square to be pushed into from all the available options around them. This can be powerful as it can make a player “sticky”, effectively gluing them onto the hitting piece, in turn this allows them to hit back next turn, and/or stick to the ball carrier. If you are punching a Side Step player, you need to think about where those Side Step options are and fill the ones you don’t want them to use before hitting them. Like Wrestle and Stand Firm, Side Step pieces are often less desirable targets for blitz actions. Again, this is useful for shutting down channels or baiting opponents into positions where you can set up crowd surfs. Side Step is also really good versus Frenzy pieces as it is very hard to get pieces into the multiple positions they need so that the second hit from Frenzy has the assists it needs to make it 2D.
The diagram below shows this in action.


If the Orc Blitzer hit the Wraith, the Wraith’s coach could choose to have it step into any of the appropriately ghostly unoccupied locations on a Push result. If still on its feet, the Wraith could choose to tie up the Orc Lineman (2/4), could block progress down the sideline (1, 3), or could stick to the Blitzer to set up a potential surf next turn (5, 6). Quite powerful.
Side Step is on the Agility skill tree and is often a good pick for Catcher/Runners that will be used in One Turn Touchdowns, as it gives you a lot more flexibility for angles that you can Push from to get the squares forward that are required. Just making a player sticky is good anyway, so for Elves with block and dodge already, taking Side Step makes for quite valuable pieces (Elven Union Blitzers start with Block and Side Step).
Camelchops rating: A tier. S-tier on Block/Dodge pieces.

Grab
Grab is sort of the opposite of Side Step. It increases the number of spaces you can Push someone into following a block (not on a blitz action), allowing you to choose any empty square around the blocked piece, it also cancels Side Step.
If you consider the Side Step diagram above, if the Blitzer had Grab then he could choose where to put the Wraith from the same set of Ghostly locations. This can be very useful for clearing space (e.g. moving to square 6 or 1), increasing the number of hits (moving him to square 3 or 4 so the Orc Lineman could have shot at him), setting up juicy fouls, a favourite of Black Orc teams, or moving a piece so you can surf it.
You aren’t allowed to have Grab and Frenzy on the same piece. However, having one piece with Grab and another with Frenzy is very good for setting gup surfs.
As a chosen skill, Grab isn’t super popular. It’s usually late in team development where you can benefit from one or two pieces with Grab. It is fun and disruptive. The one exception is Treemen. As Trees can be rooted and lose their ability to move during a drive, Grab can be good to allow them to hit pieces and then put them down in the Tree’s TZs.
Camelchops rating: C-tier, A-tier in a fouling heavy team.
Push backs – Grab, Fend and Taunt video

Jump Up
Jump Up gives a downed player that is next to an opponent an opportunity to stand up and throw a block if they first pass an agility test with +2 modifier. Jump Up is in the Agility tree and most players with this skill are AG3+ or better, so usually it is a 2+ roll (which can be rerolled with a Team RR) to get a chance to block.
When playing against a Jump Up piece, you need to think carefully after knocking them down about whether and how to tag them. We generally don’t want to give up free hits, but similarly we don’t want to allow free movement.
Jump Up also means a player can stand up and move (or blitz) using their full movement allowance rather than suffering a -3 reduction for being on the ground.
Camelchops rating: A-tier.

Horns
Horns is a mutation that allows the horny piece to add +1 to their Strength characteristic on a blitz action. This means that most Chaos Beastmen variants who start with it can get 2D against most opponents and Minotaurs (Sports Cows) can get 3D with just a single assist.
As a skill pick, it is quite good having one Underworld Goblin with Horns as they can become surprisingly effective cage-diving pieces (they can dodge anywhere on a 3+ owing to their Stunty Trait). Similarly, Horns are a good late skill pick for other cage-diving specialists.
Camelchops rating: A-tier for regular blitzing or sacking piece

Dauntless
Dauntless gives a chance for a lower strength player to count as equal strength to their target, before taking into account offensive and defensive assists.
It is a simple D6+Strength needing to end up above the target strength. So, a Trollslayer (S3) needs to roll 3+ for this to work vs a S5 Big Guy or 2+ to hit a S4 piece. This can be very useful; turning a -2D into a 2D massively shifts the odds.
Dauntless creates an interesting question; should you reroll a failed Dauntless roll or save the RR for the block? The answer depends on what you need from the hit and the skills of players involved.
Let’s look at a common example, if we assume a Block ‘Slayer with one assist vs a Blockless S5. Often hits of Big Guys are less about the Pows and more about getting them away from your players, so we need a Push or better. For this situation, 67% of the time we pass Dauntless and get to roll a 2D with ~3% failure state, whereas 33% of the time we fail Dauntless and need to roll a -2D with ~21% failure state. Therefore, the overall failure state (Slayer down) is ~9%. Not terrible, better than dodging away and you might even put the big lad on the ground.
Option 1, If you decide to RR the Dauntless roll, then overall failure odds go to ~5% failure. Option 2 is to reroll the block dice rather than the failed Dauntless. The chance of failing a 21% roll twice in a row is 4.4%, so for the overall sequence we have a ~3.5% failure state. In this situation, if you have only one RR available/willing to burn then you should RR the block not the Dauntless. Rerolling the block stays true as the safer option if the Dauntless roll is to get a 1D vs -2D.
However, if you need a Pow result, or if the blocking player doesn’t have Block, then rerolling the Dauntless roll is usually better.
As a general approach (rather than learning every eventuality); as the differences between success likelihoods of the two branches increases, the value of rerolling Dauntless also increases. Similarly, the easier the Dauntless roll, the more likely that RR on that part of the sequence will be better.
Note, that you do have to roll Dauntless for each block in a Frenzy sequence, so bear this in mind in your planning.
Camelchops rating: B tier. Nice to have but other picks are stronger.

Multiple Block
Multiple Block is a bit more of a niche skill from the Strength tree that gives a player the option to smack two opponents with a block (not on a blitz) on the same turn. However, when doing so, the hitting player Strength is considered to be 2 lower for that action.
Unsurprisingly, this skill is useful only on higher strength pieces… Big Guys, especially S6 trees, and once you have developed teams where you have plenty of Guard. On that basis, it’s usually not a great early (or ever) pick for most other players. The elite skills of Guard and Mighty Blow, and even Stand Firm or Grab are likely of greater utility.
The advantages of punching two people are pretty obvious, but there can be one added potential “bonus” is that you can’t use Frenzy when using multi-block. Ostensibly this isn’t a bonus; Frenzy is great, as we will discuss shortly. However, being able to choose not to have to hit with Frenzy can be tactically advantageous. We’re going to discuss Frenzy in a separate post.
Multiple Block sadly no longer allows multiple Special Actions (Stabs, Vomits etc) per turn; it is limited to block actions only.
Camelchops rating: D-tier. Rare that you will get value.

Eye Gouge
Eye Gouge comes as a starting skill on Zombies. It’s an interesting skill but not very useful.
If an Eye Gouge piece pushes a player back with a block action, then the Gouged player cannot assist any other blocks until they are activated again. This can be useful in a couple of ways; first, it can make it easier to get subsequent blocks, and second, it might mean the Gouged piece needs to be activated earlier than the player wanted to get them back involved in the action on the next turn.
As a starting skill on Zombies, a Blockless piece, you have to balance the risk of failing the block vs the gain of the Gouge.
When I initially wrote this section in Nov 2025, when the rules had just come out, I didn’t know whether Gouge would be useful or not. I’ve now played a whole league season with Undead and used Necro at the Welsh National, Waterbowl, Scottish Team Champs, Home Nations, and in FUMBBL Eurobowl warmup matches + others. I can tell you from this experience that Eye Gouge barely ever comes up in a meaningful way. I can remember only one occasion through all those games where I deliberately used Gouge to create a situation that was relevant to the game outcome. There have been a handful of times when opponent’s turn ordering have changed.
Camelchops rating: D-tier. Nope. Recycle players that random this.. . unless I’m missing something.

Hypnotic Gaze
The Hypnotic Gaze trait doesn’t sound like a blocking skill but it effectively turns off the TZ and many skills including Block and Dodge on your opponent on a 3+ roll. So, it has a strong use case in increasing your ability to knockdown opponents.
If you are playing with or against Vampires or Star Players with this trait you should be aware of this opportunity/risk. Vamp 1 hypnotises a cage corner, Vamp 2 runs in and turns off all the defensive skills of the ball carrier and Vamp 3 smacks the carrier down.
Being distracted also turns off Side Step and Stand Firm, so pushing players into the crowd or just to somewhere less annoying is also an option. “Hypnodazzled” players also can’t catch the ball, so Hypno-ing a scoring threat can be a strong defensive strategy.
One of the side-effects of Hypnotic Gaze is that it encourages your opponent to activate that player earlier in the next turn so that they gain back their skills and are able to assist or cancel assists again. Sometimes this means doing a sub-optimal activation rather than waiting until later in a turn just in case you suffer a Turnover early.
Camelchops rating: This is a trait, not a chosen skill. It is powerful but how powerful depends on the rest of the build, how many RRs etc.

Foul Appearance
Foul Appearance (FA) is a mutation that means an opposing player has to roll a 2+ before being allowed to hit this piece. This roll happens after the player has moved into contact when blitzing. If they fail the roll, the block/blitz doesn’t happen and the player’s activation ends.
You also need to pass FA before conducting Special Actions like Stab or Chainsaw, and you need to pass a second FA roll for the second hit of a Frenzy action.
2+ doesn’t sound like a lot but the impact is greater than the stats suggest. Failing a FA roll means the blocking piece’s activation is wasted and they are in contact with the FA piece so are in danger to be punched back next turn. It also uses up an activation that clearly was planned to generate some sort of change to the board state.
If playing against FA, you have to take into account the prospect of this failure and plan for it.
In the simplest terms, FA pieces are not very attractive blitz targets owing to this potential loss of your blitz. This effect is compounded when FA is combined with Stand Firm (on Nurgle Bloaters), or with Side Step (on Necromantic Wraiths), or when hitting using a Big Guy needing a negatrait roll before acting… rolling 2+, 2+ before being able to do anything leads to a lot of wasted turns!
Camelchops rating (as chosen skill): B tier. It is a great skill and super annoying but as a chosen skill there are a lot more better ones to take first.

Steady Footing
Steady Footing affects anytime a player would be knocked down, which means it can kick in during blocks. A player with SF will stay on its feet on a roll of a 6, effectively turning a Pow into a Push. It also affects dodges and rushes, so we will talk about it a bit more in a later post about cage diving.
One practical block-related upshot of SF is that you don’t know if it has worked before you decide whether to follow up a block or not. This can mean that not only did the hit player not go down, but also they might hit you back. Something to consider and something we will also discuss in a later post. Back-to-back later post comments… it’s like I want you to subscribe or something?
One practical upshot of not going down as frequently as a result of a block is that Steady Footing pieces aren’t too appealing as attrition-blitz targets. 2D vs Blodge+SF is only ~25% to go down on a 2D without tackle. Yes, the impact might be large if you can get them down, but it you are just trying to get ahead on numbers a 75% hit with block on a blockless lino might be a better shout.
If you want to know a lot more about steady footing, I did a deep dive post into the stats – available here.
Camelchops rating: C tier. As a chosen skill, it’s effect is smaller than a lot of the others. Not a bad shout on a ball carrier though.

Frenzy


Next week we will cover Special Actions that replace blocks: Vomiting, Stabbing, Chainsawing and Breathing Fire. Wild times ahead.
And here are the links to the other posts in the series:

Enjoyed this? Found it useful?
This is part of an expanding series, come back next week for the next installment.
The text here originally came from our book – Blood Bowl Strategy: Third Season Unofficial Strategy Guide — I’ve made some edits to make it more suitable for online posts. The book is a complete guide to positioning, tempo, drive planning, defensive structures, offensive patterns, league development, inducements, and tournament preparation. 266 pages, ~74,000 words of our collective wisdom designed to take you from a beginner to a >50% win rate coach.
We will be posting excerpts from the book over the coming months – you can subscribe to the blog to receive notifications and the next basics post straight to your inbox.
Physical copies of the book are available on Amazon (check your own country’s listing – e.g. amazon.co.uk here). Or I usually have a box of books with me at UK tournament events. Or message me if you want to buy a batch.
Digital copies of the PDF are available via the button below:




Leave a Reply