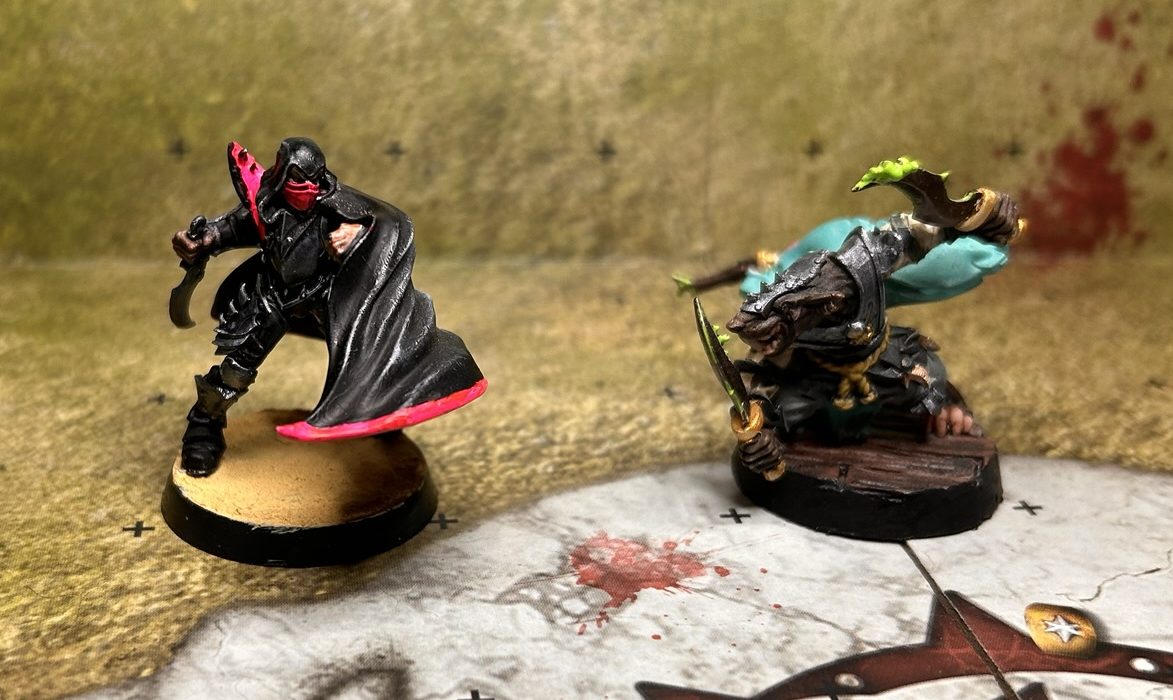

Special actions like Stab and Projectile Vomit replace your normal block or blitz action* and are a different way to take down and hurt your opponent’s pieces.
These special actions give you options (what we often refer to as agency). You don’t have to use the special action so it is valuable to know the mechanics well enough to make an informed decision. The choice between performing the Special Action and a standard block comes down to relative odds of success of the special action vs using block dice after taking account of other relevant skills, and the board position and the relative likelihood and effect of failure. Which is true for every action of course!
*Note that the FAQ clarified that these actions require a square of movement if used as part of a blitz action.
[I’ve been adding some youtube shorts versions of this content if you prefer, at end of each section]

Stab
Stab is the simplest of the Special Actions: you roll a single Armour-roll against your chosen victim, succeed and you progress straight to injury roll. They are at minimum stunned and drop the ball. If you fail the armour roll, exactly nothing happens.
Importantly, there is zero risk of turnover. This makes Stab an ideal first action on a turn where the result might shape what else you can do.
To make our decision we need to know the odds of breaking armour. You can’t use a team reroll for the stab armour rolls (or on the vomit or chainsaw rolls below).
Table of useful comparisons
| Armour Value | Success Probability | Comparison (assuming player doesn’t have block) |
| 6+ (e.g. Snotling) | 72% | 3D vs dodge 42%, 66% with RR |
| 7+ (e.g. Halfling) | 58% | 2D vs dodge 31% / 52% |
| 8+ (e.g. Wood Elves) | 42% | 2D vs no dodge 55% / 80% |
| 9+ (e.g. Humans) | 28% | 1D vs no dodge 33% / 55% |
| 10+ (e.g. Orcs) | 17% | -2D no block, 11% (21% w/RR) |
| 11+ (e.g. Treemen) | 8% | -3D no block, 4% (7% w/RR) |
There are three non-Star Player Stab pieces in the game: Chaos Dwarf Sneaky Stabbas, Dark Elf Assassins and Skaven/Underworld Gutter Runners. Of these, the Assassins and Gutter Runners are both Ag2+ and can cage-dive into threee TZs on a 5+. A Stab dive is very viable, especially when the ball is carried on a low AV Block+Dodge piece. For GRs, a block would usually be a -2D (uphill) after a dive, and quite low odds of sacking the ball unless you have levelled up your Runner with Wrestle and Strip Ball. For Assassins, it is more likely that you can make it 1D, but less frequently vs Guard, and even at 1D the stab can still can be the higher probability play.
The trade-off with Stab vs a traditional block action, is that with a Stab you lose the chance to push the target away, so if you have the option of multiple Block dice or you really need to clear a square for your cage, a 2D or 3D Block can still be the stronger play. Stab-induced CAS (or other Special Actions) don’t earn SPP, which is relevant early in league situations where levelling up your pieces might be a priority.
One other important point. The stabbing piece’s activation ends after a stab irrespective of outcome, even when on a Blitz action.
However, Stab is compatible with Hit and Run, and so if your piece has both skills (Dark Elf Assassins start with both) you can often escape with one free move after a shanking. This is relevant when playing against stab as it means that there often is little value in basing an Assassin as you just give up a free Stab and don’t get a chance to hit them back if they fail.
As an aside, I suffered from the push-in and give up a free stab punishment at the Home Nations tournament this year. I was trying to create space and forward momentum vs Purple Chest’s DEs by driving forward with my Stand Firm, Guard, Flesh Golem (AV10+, Thick Skull, Regen). The resulting dead Fleshie made my drive even more difficult!
Assassins, Gutter Runners and Stabbas are all AV8+, so are quite squishy. We do recommend smashing them when you can.


Projective Vomit
Projectile Vomit shares the “no-risk of turnover safety” aspect of Stab but there are caveats. The catch is twofold; first, the Negatrait effect can hit, a failed Really Stupid roll will mean you end up Distracted with no TZs, which changes the board state and assists available (as well as meaning no damage). Negatraits will be discussed in more detail in a later post.
This potential downside of failing Really Stupid might mean that, unlikely stab, it isn’t optimal to vomit as the first action in the turn.
Second, there’s a one-in-six chance your player vomits on itself. Trolls can usually tank this owing to their superior Armour, so it’s usually a minor annoyance rather than a catastrophe (and we don’t recommend rerolling a failed Vomit for this reason, but don’t blame us when the Troll dies!).
As with Stab, Vomiting is great on a turn where knocking down isn’t essential but squeezing out every possible safe(ish) action matters, or when you’re boxed in with no blitz or block dice at hand and need to barf your way out of being surrounded.
Important Note: I know I’ve said this, but it is worth repeating. For both Vomit and Stab as there is no risk of turnover, you have complete freedom to attempt them on the turn you are about to score. Even if a Troll vomit’s on itself it isn’t a turnover unless it was carrying the ball. As one of our Club (Dusher1) always says; “I love a cheeky Stab that rubs the pain in when you’re about to run the ball in… Oh, I’m about to score, so I’ll just stab this armour 10+ Big Guy… Oh look, your Ogre is dead…and it’s 1-0.”
(Video featuring Mrs Camelchops… she wanted to get involved… she’s not AI, she is a real person!)

Chainsaws
Chainsaws are a special weapons, and we’ll talk about that aspect of them in a later post alongside the other toys, but let’s look at mechanics now. Chainsaws can be used instead of block or as part of a blitz action much like a Stab but with two differences. The good is that they get a juicy +3 bonus to the roll. However, the bad, is that there is a cost of that benefit… there is some risk… prior to sawing you roll a D6 and on a 1 the Saw kicks back and hits the user, knocking them down and causing a Turnover. You can reroll a failed kickback roll. The knockdown also applies a +3 to the Saw player’s armour roll.
The Saw can be deadly (on whoever it hits) but the risk profile needs to be considered* when planning your turn ordering. The +3 on the roll means the saw has a high chance of success but the 1/6 failure is worse than all 2D blocks and most 1D.
If you don’t get the targeted player down, you can also guarantee the Saw will get punched next turn and with the +3 modifier on its armour, likely removed. Indeed, the Saw is a priority target for getting off the pitch asap when playing against Goblins!
Saws can also be used in foul actions, again giving a +3 on the foul roll but also requiring a kick back roll. You usually should be fouling with someone else (ideally with dirty player), as a foul with friends should break armour anyway.
*in terms of rostered players we are talking about using Goblins, who are a high variance team. You have to take risks, but you also have to acknowledge that failure will happen at some point and have made moves to mitigate it’s effect.

Breathe Fire
Breathe Fire replaces your block or blitz with a different sort of gamble. You roll one D6, with -1 against an S5+ target, on a 1 your Firebreather goes down causing a turnover, on 2–3 nothing happens, on 4–5 the target is placed prone with no Armour roll, and on a 6 the target is Knocked Down and you get the Armour roll and potential removal.
In all honesty, it’s not the best skill; most times you will prefer to block. But that doesn’t mean you shouldn’t be using it. Indeed, there are situations where it has clear benefits. An important point to remember, is that the only piece that starts with this trait doesn’t have block. And usually a Chorf Flamesmith’s first level up should be Guard unless you are playing an infinitely long league.
Breathing Fire’s pay-off is more about putting a player on the ground potential than damage. The decision to use or not, hinges on whether removing a player from their feet outweighs the risk of ending your turn. It is about the pure probability of a knock-down when you can’t create a 2D or more hit.
Use it when your foe is surrounded by TZs, when you lack support dice.
The other time when it should be the go-to is when the defender has defensive skills. Firebreathing can give you a 50% chance of getting a Blodge ball carrier onto the ground vs a 17% fail state. This will often be better than a 2D without tackle (31%) albeit with that latter having 11% fail state.
Breathe Fire is rerollable, and the sort of 50% ball-carrier hit we are talking about is likely to be something worth putting a RR into. So, you’d actually be looking at 75% ball carrier down vs only 3% fail state when you are planning the turn.

Block vs Special Action
As we’ve seen, comparing a standard block versus these Special Actions is deeply context dependent.
Ask yourself: how many dice can I roll for a normal block, and what are my odds of not only knocking down the foe but also breaking through its armour? A 2D Block against an AV8 piece with block and dodge only knocks down about 31% of the time (and then you have a 42% chance to injure), whereas a Stab sits at a straight 42% success rate against that same AV8 target, and Vomit is 29% (once you take into account 2+ stupid and 2+ Vomit rolls) but both have zero turnover risk vs 1 in 9 failure with a Blockless block.
On the other hand, the armour roll part of Vomit, Stab or Saw can’t be re-rolled, it will either work or it won’t. In contrast, the block dice can be re-rolled.
Final consideration, all the special actions don’t induce a push back. So, where clearing a square or protecting your stab/saw/fire/vomit player from being punched back is your priority, the odds of a push or better might be more relevant than the straight knockdown odds.
Next Post – FRENZY
Previous Posts

Enjoyed this? Found it useful?
This is part of an expanding series, come back next week for the next installment.
The text here originally came from our book – Blood Bowl Strategy: Third Season Unofficial Strategy Guide — I’ve made some edits to make it more suitable for online posts. The book is a complete guide to positioning, tempo, drive planning, defensive structures, offensive patterns, league development, inducements, and tournament preparation. 266 pages, ~74,000 words of our collective wisdom designed to take you from a beginner to a >50% win rate coach.
We will be posting excerpts from the book over the coming months – you can subscribe to the blog to receive notifications and the next basics post straight to your inbox.
Physical copies of the book are available on Amazon (check your own country’s listing – e.g. amazon.co.uk here). Or I usually have a box of books with me at UK tournament events. Or message me if you want to buy a batch.
Digital copies of the PDF are available via the button below:




Leave a Reply