

Another human OTTD post?! Well, last weekend, I had 3x OTTD attempts with my Human team. I scored the first via Catcher pushes, failed the second when the Ogre fumbled the Halfling, and failed the third of a goal-wire tripwire after blitzing through the defence rather than dodging through… and that got me thinking.
In my previous calculations on how and when pivot between Catcher and Fling had based the Catcher line on finishing with a 443 Dodge through a weak screen.
However, if you keep your blitz for the backline (hitting a S3). then the finish is effectively a 3+1D, followed by 3+ dodge if needed (pushes) or no dodge roll (pow/stumbles). Substantively better.
(video walk through at bottom of page)
We, usually, will require one extra block to generate the 3 squares of forward movement compared with a Blitz-induced chain sequence, so let’s look at what is needed.

Pushes without Blitz vs 3 central defenders (MA8 catcher)
I’ve framed this as for Human teams, but this set up works for any M8 team.
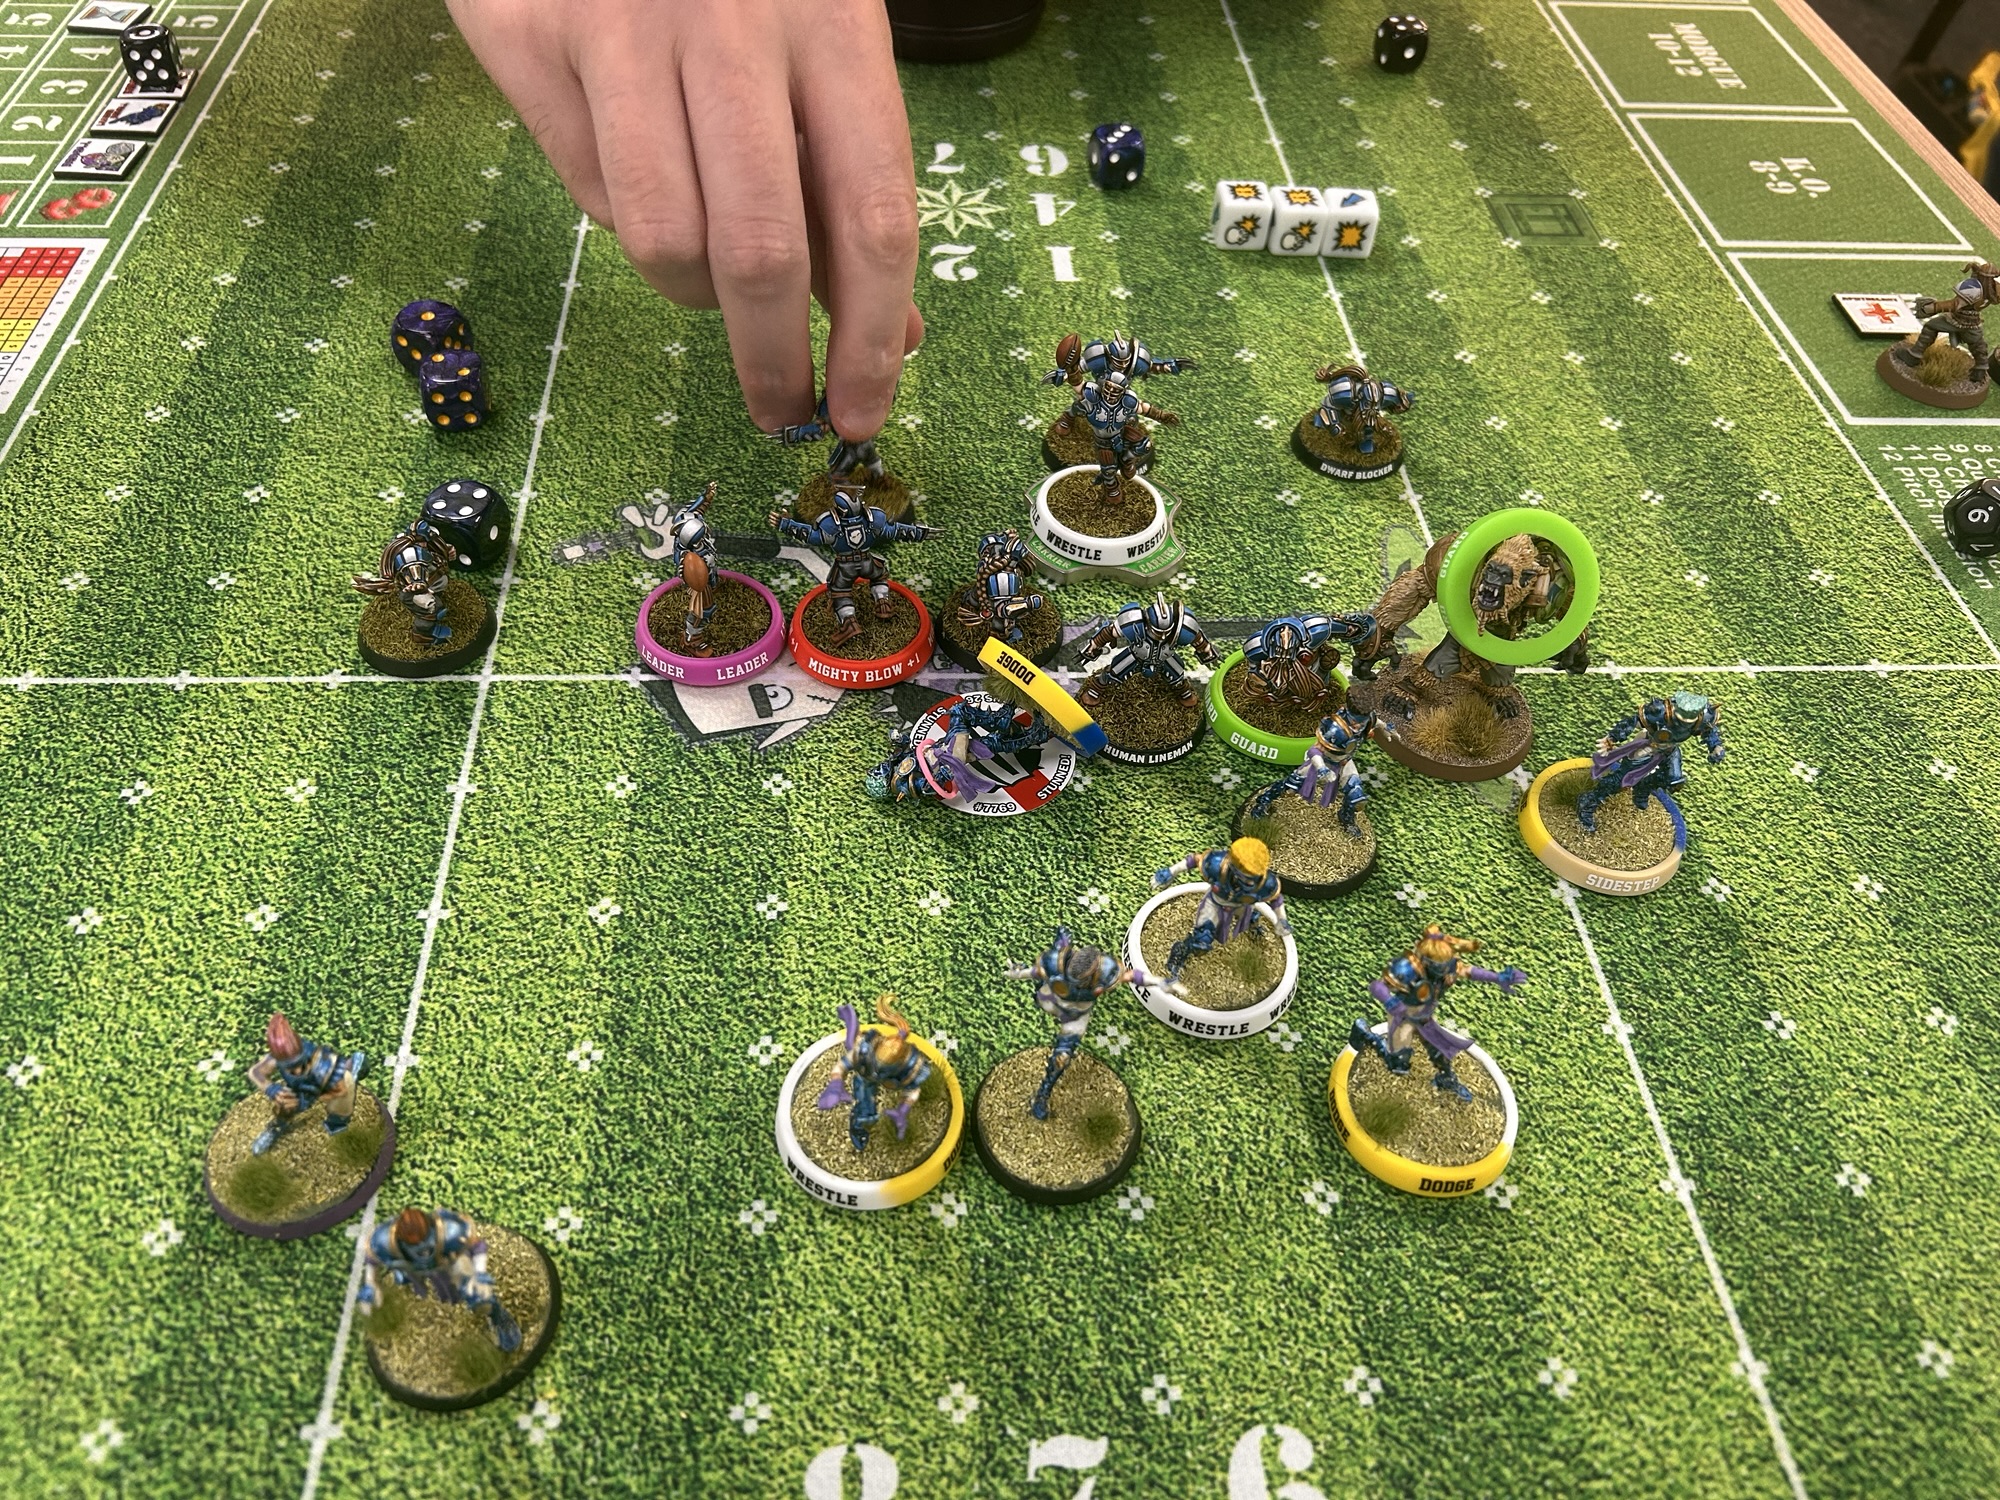
Here’s the set-up. Black and Orange are the Ogre and Fling, in case we need them if the blocks fail. Deep is a Thrower and Relay Catcher. Yellow with blue ring is our scoring catcher. Red are our Blitzers; in tournament build usually one has Guard (green ring) and other has Mb. Purple are Linos.

Note: often you will have a few Linos with Block or Wrestle. The ones with those skills are in hitting positions so that we can retain the chance to pivot to the fling if needed.
Step 1 – Move the 2 free linos to fill the box behind the LOS.
Step 2 – Block the end oppo lino diagonally and chain-push the middle lino into the gap. 2D, pushes are preferred, Pows are acceptable (8/9, 89%). Don’t follow the block. If it was a Pow into removal, then either the relay catcher can fill in or you could fling (3) dodge into the square.

Step 3 – Left lino Block into the chained piece. Pushes required, forces the Catcher NE. 2D needing pushes = 5/9, 55%. Pows here would necessitate a Pivot OR brings the Ogre in to blitz.

Step 4 – Lino blocks up into the T, needing pushes = 5/9, 55%. Retry option is still on with a Pow; Fling can fill the end box and Ogre fills.
Step 5 – Guard blocks up into the T, Pow preferred, pushes OK = 8/9, 89%
The Catcher would now be in double-rush scoring range.
Total odds to get at pushes+, pushes, pushes, pushes+ = 24%/51% 1RR/61% 2RR. (not including the backup options).
Step – 6. Now we need to get the ball to the receiver. Ideally he is in the open. Ball location matters, but this will usually will involve a Surehands pickup (3), likely a pass to the relay (3) and catch by the relay (3) then handoff to catcher (3 or 4 if the last hit wasn’t a pow). Those four rolls are 63% with skill rerolls for human teams.*
[*In my previous post, I worked out that once you take into account the different kick landing location probabilities it ends up about 66%, with certain locations in the NW necessitating pivoting to the fling toss].
Step – 7. Glory. We might Now we need to Blitz a weak piece in the backline 1D needing pushes, if we get a pow, then it’s just a 22 rush home. If we get a push its a 3+ dodge (with Dodge) and 22 rush. 44%
Overall. with no RRs = 24% x 66% x 44% = ~7%.
With 1RR = ~19%
With 2RR = ~28%
That’s not much better than usual… BUT
If you’ve followed along with our previous posts, these headline stats aren’t a big improvement on our previous calcs for the POTT. The reason for that, is two-fold. 1) There are lots of other rolls involved and 2) we usually set up the chain-pushes for max efficiency; we can get 4 squares of forward movement relatively easily. So we might be trading a harder dodge for an extra rush.
However, the additional advantage you have is that IF you don’t get the pushes you need, you have still got the blitz available to either restart the chain push OR to clear the landing zone if you are going to pivot to a TTM attempt.
Non-blitz chaining forward also gains a bit more equity vs S2 defenders of course and gains more again vs a full 8-piece backline, which would need a 543 dodge route rather than 443.
1-space Gap – No Blitz Chain Pushes
I set up the above with a no-gap LOS. It is possible to do a no-blitz OTTD with a one gap line. Set-up and first moves below.

The difference here is that we are now doing an extra 2D block to form the box we need to start the sequence. It also needs an extra piece. I don’t like this really when the fling option is available.
2-space LOS gap is very hard to save the blitz. Against that, I’d use the blitz and aim to take the 4 squares of pushing with back-up options built in as my preferred line.
Not Just Humans…
Saving the blitz is something to consider when trying a MA8 OTTD without access to a TTM and when the carrier has lower Ag3+ (e.g. Humans/OWA without a fling, Necro if playing down one wolf***), or Skaven or UW that have lost their GRs and are scoring with their Blitzer. Or other teams when you have +1MA.
This sort of “save the blitz” option is also good for teams with Hit and Run: Zons and Dark Elves***, where being able to blitz with the ball carrier can generate +1 Movement range.
***DE and Necro have Frenzy witches/wolves, and so don’t need this sort of contrived way of saving the blitz usually.

Leave a Reply