

In Part 1, we explored the foundational ideas behind risk management, reroll strategy, and the Rule of 5. Here, we continue with the next three concepts to help you understand how drives are won, when opportunities matter, and why connected players are the backbone of good positioning.

The default score for a Blood Bowl game is a 1-1 Draw. You score on your half, your opponent scores on theirs. So, how do we break that and win? Winning starts with identifying your win condition(s); simply, and extremely obviously, how you’ll score more than your opponent. But there is more than one way to win a game of Blood Bowl!
Five common approaches:
1) Solid Defence. 1-0 win
Pretty obvious here. Stop your opponent scoring on their drive by mounting the strongest possible defence and then score on your own drive to win 1-0. Some teams are better suited to this option than others; for example, Amazons and Necromantic Horror have got a great combination of skills and pieces that can defend very effectively.
2) The 2-1 Grind
Probably the most common approach. Score on your own drive on the last turn of the half (known as a “perfect 8-turn stall”). On your opponent’s drive, you force them to score much earlier than they’d like, this then gives you another long and controlled drive to again score on the last turn of the half. During the grind aspect you exploit your superior strength and killing ability to have long, somewhat slow, very stable drives. Lots of teams lean into this option well, classic examples Tomb Kings, Undead, Orcs, Chaos Chosen, Dwarfs.
3) The 2-1 win via short-drive specialists
Same scoreline, slightly different methodology. Some teams can score very quickly when they need to. They have a strong passing or fast running game and don’t need to grind their way forward but rather can sprint or dodge their way into scoring position. Playing against a grinding team when using a more agility-focused team, it can be hard to force them in very quickly, but if you only need 2 or 3 turns to score your own TD, then the in-drive win condition can become simply keeping enough of your team alive and in the fight so you can score in the little time they give you later. The extreme version of this strategy is to score a one-turn touchdown after your opponent has completed their drive.
Most of the Elven teams can adopt this approach, as can Skaven and Underworld Denizens, all of whom can score in one turn and are very good in 2 or 3 turns. Even the humanoid teams can score relatively consistently in 2 or 3 turns.
4) Aggressive Defence – Ball Hawking
If your defensive drive goes well or your opponent’s goes badly (hopefully because of your actions), you will be able to take the ball off them and score yourself.
At the beginning of almost every defensive drive this IS our objective. However, some teams are much better equipped at getting the ball off their opponents than others. Often these specialist teams are a little bit toward the more fragile side, so a game plan could evolve where you score early then launch a super aggressive defence to get to halftime winning 2-0. Fragile teams, in general, prefer shorter drives.
The most striking example of this sort of game plan is Vampires who can use their Hypnotic Gaze ability to generate hits on the ball carrier, but their Bloodlust and low-armour Thralls mean that the longer the drive, the more likely that they will run low on players. Teams like Wood Elves with Wardancers with the Leap skill can also go after the ball on almost any turn if they want. As teams develop by gaining skills, other races such as Skaven, Underworld, and the other Elven teams which each have Ag2+ players or pieces that start with skills like Strip Ball can be built such that they too can aggressively try to take the ball off their opponent early and often.
5) Kill Early, Score late
A team will struggle to defend if it has no players. It will also struggle to keep the ball safe. Therefore, a legitimately effective strategy can be to first focus on removing from the game as many of your opponent’s pieces as possible, then walking in as many TDs as you need unopposed later. It is a game plan that requires high-rolling armour and casualty dice, which isn’t necessarily something you can rely upon for most teams, but as players develop in progressive play you can lean into the kill first, ask questions later approach by building your skills to maximise damage.
There are four routes to removals: blocks, fouls, crowd surfs, and secret weapons. We’ll cover each of these in more detail in later posts. Many teams have some pieces that can increase one or more routes toward damage output. However, to be successful with a removal-oriented gameplan regularly needs multiple routes to removals.
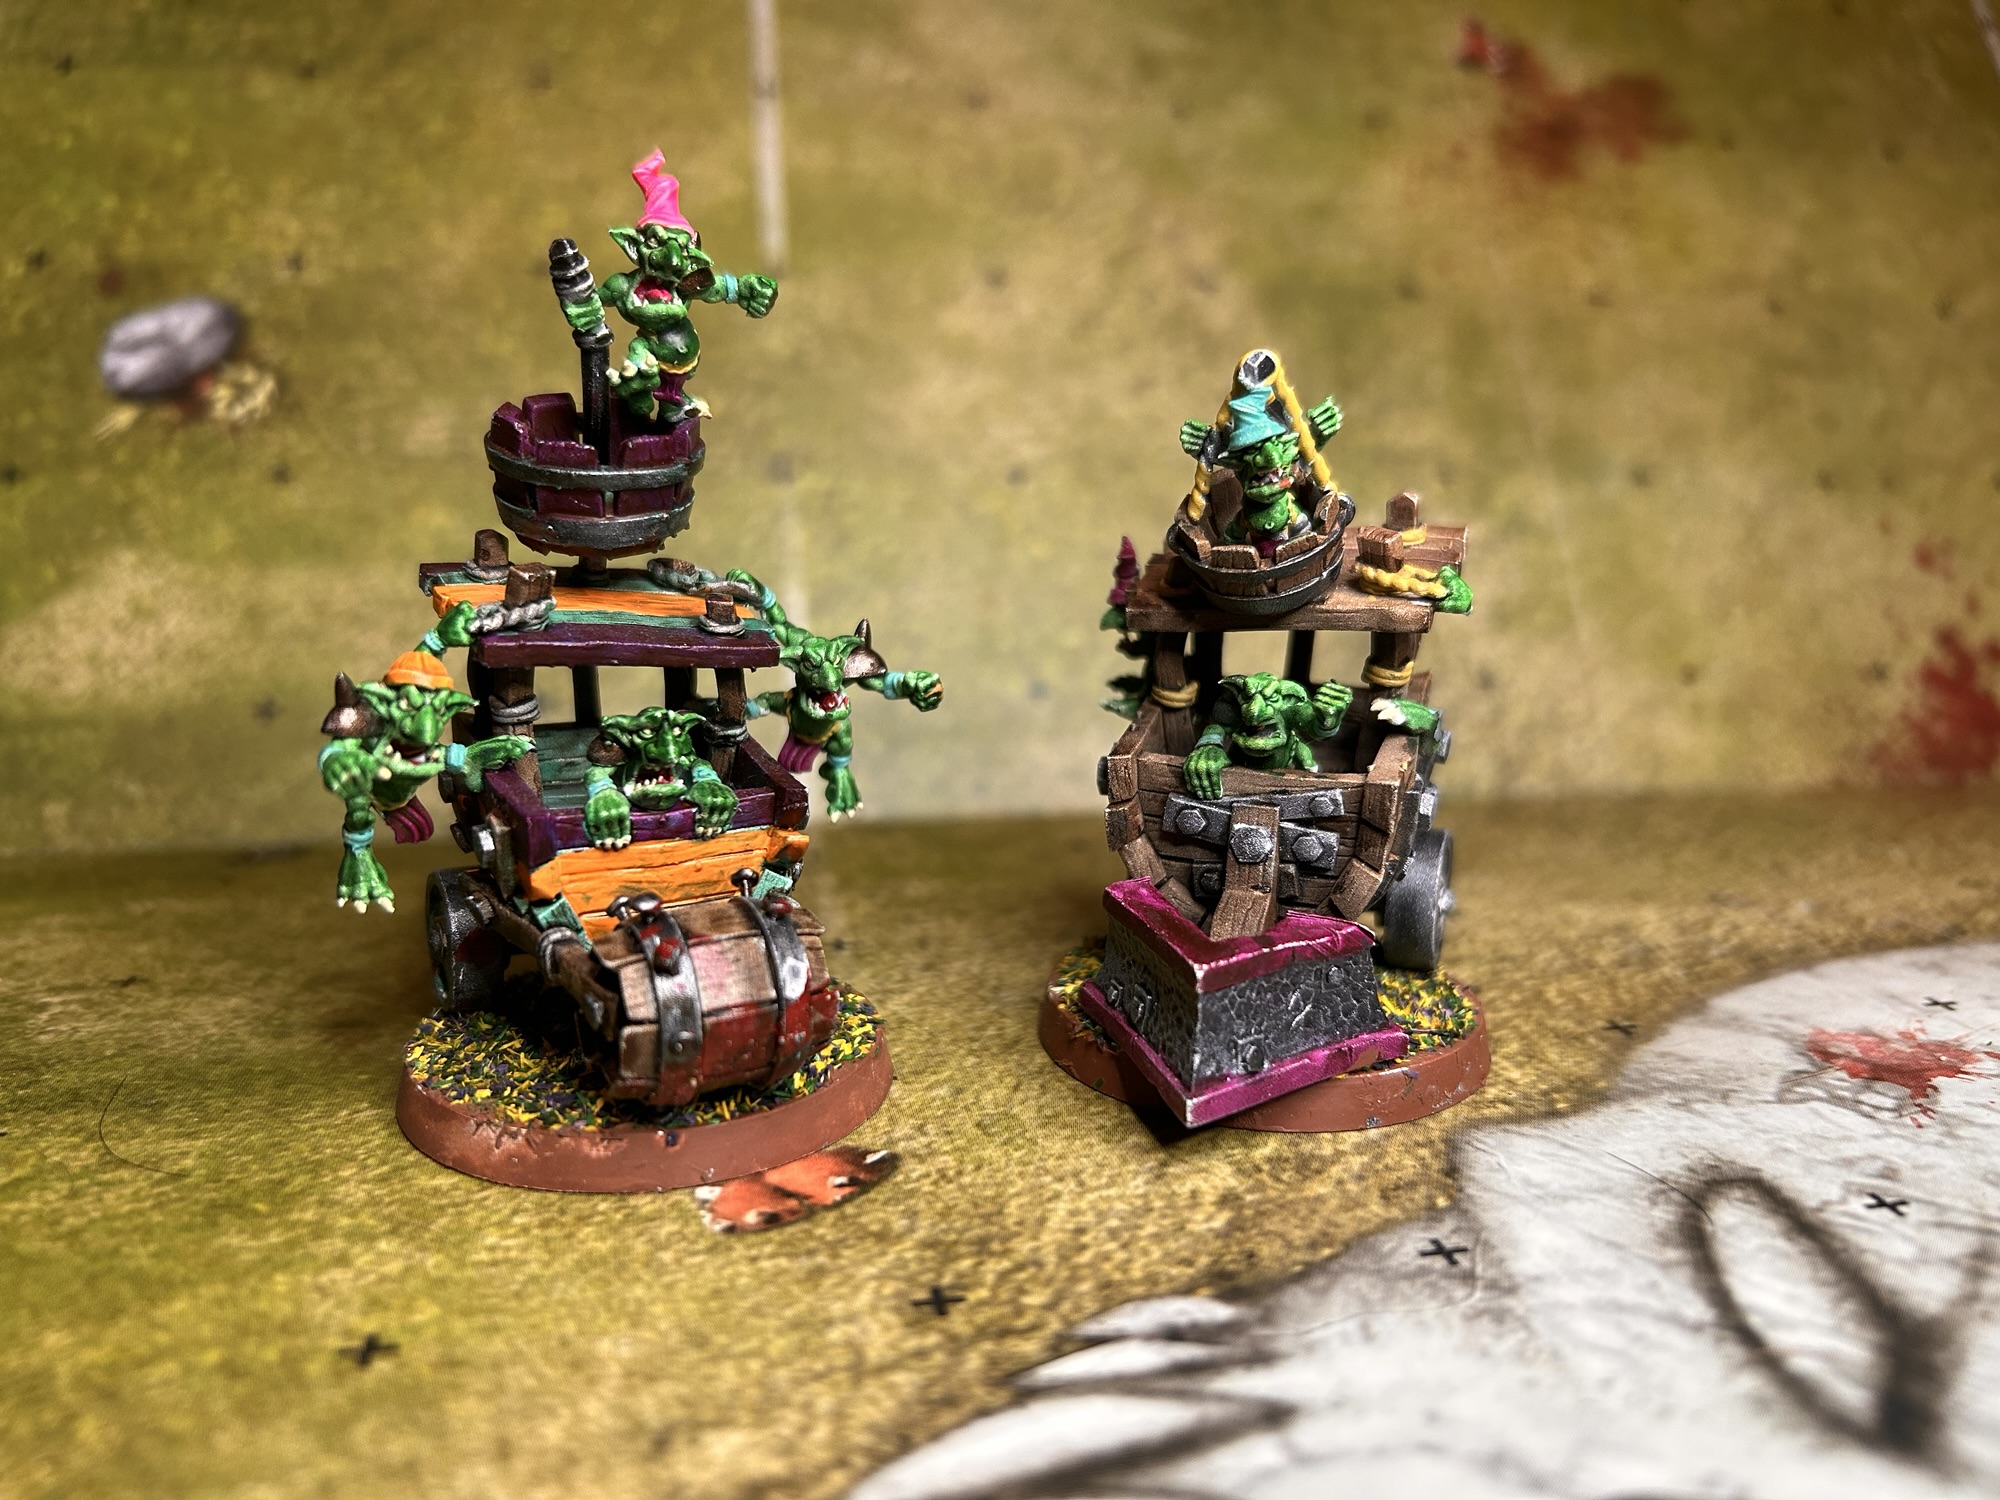
Examples are teams with multiple positions with skills that either increase the number of block dice thrown (e.g. Frenzy, Grab) which are best when combined with armour/injury modifying skills like Mighty Blow and Claws (Khorne, Norse, Black Orcs), or which have cheap players that can foul regularly, especially if they can take Devious skills like Dirty Player, and better still, access to cheap Bribes (Goblins, Snotlings, Norse Beer Boars, Black Orcs, Underworld, Gnomes), or have access to players or cheap star players with weapons like Chainsaws, Ball and Chain, Pump Wagons, Deathrollers and to a lesser extent Bombs (Goblins, Snotlings, Dwarves).
It is no accident that some teams are mentioned twice in that list…having multiple options reduces the amount of luck required through generating more ways to roll dice at the problem.
Win conditions are not fixed, nor mutually exclusive; you and your opponent will pivot from one to another depending on how the game is going. Recognising and deciding what your best current option is, will help define what you should do on any specific turn.

There’s always a chance if you are willing to roll the big dice… but usually you shouldn’t do the super risky play. Indeed, many times a play will be too risky, too early, too likely to get your star player killed. But context is everything.
A 4+, 4+, 3+ dodge chain is quite low probability of working on stats alone, but if you’re already down four players and your opponent is about to stabilize and grind forward unopposed, that risky play might be the best chance you’ll get.
The key is to assess not just the odds of success, but the trajectory of failure. If the alternative is slow defeat, then a low-probability play becomes strategically the best option. Go down in a blaze of glory rather than a whimper.
This concept asks you to zoom out: what does the rest of the drive look like if you don’t act now? Sometimes, the only opportunity is the one staring you down, even if it’s as ugly as Beast of Nurgle. Recognizing when a suboptimal play is actually your peak opportunity is a hallmark of advanced game management.
One of the times I faced Andy Davo recently, one of the best players in the world, I was running Skaven into his Chaos Chosen team built to kill. On turn 1, he left a 3+, 3+, 3+, 3+ path to a one-die blitz on his blockless ball carrier. Was it bait? Possibly. But I knew that if I didn’t take the shot, he’d stabilize the next turn, march down the pitch, and eventually score on top of a pile of dead rats. Even if the sack attempt didn’t result in my recovery and counter-score, forcing him to spend multiple actions to re-secure the ball might be enough to ensure that he didn’t stabilise fully and give me more chances to threaten again. It wasn’t a great opportunity, but it felt like the best chance I was going to get against such a strong player.
That’s the calculation: not just “can I make this play?” but “will I get another?”.

I wanted to get this concept early as I’ll keep coming back to it in later posts. You start the game with 11 pieces on the board and so does your opponent. In this condition the board is quite crowded and there isn’t much space to move. Against an organised defence, it will be hard to get through. All the blocks and screening and other actions that we take are really about creating the spaces you need while denying your opponent the same.
The fewer pieces your opponent has available to achieve their objectives the harder it is for them. You can achieve a reduction in pieces through direct removals (as per the kill-first win condition), but also by gaining a local advantage in numbers through isolation.
This doesn’t require Napoleon-level strategic mastery. Simply, if you can use a smaller number of your pieces to control and isolate a larger number of your opponents from their friends, then you are likely to have an advantage elsewhere. If that local advantage is around the ball location, then you’ll either find it easier to advance (on offence) or easier to create situations where you can get to hit the ball carrier (on defence).
Therefore, a core concept is to keep most of your players connected to one another most of the time and look for ways to disconnect your opponent’s pieces from their friends.
There will be times to ignore this; sending scoring threats on a short-drive attempt for example, but if you generally work to keep your team as a connected unit you will find most drives go better.
Splitting the Team
A term that will come up frequently is “splitting the team”. This is when you deliberately drive a wedge between a few pieces and their friends such that they can’t re-connect and are thus isolated from the part of the fight that matters most. It can be very powerful as a defensive tool.
Splitting the team can happen on either axis: vertically, getting players between the LOS battle and the ball recovery team, or horizontally, separating players off to one side of the field. The full-team split might not happen all that often, but when it does there is trouble ahead.

Leave a Reply