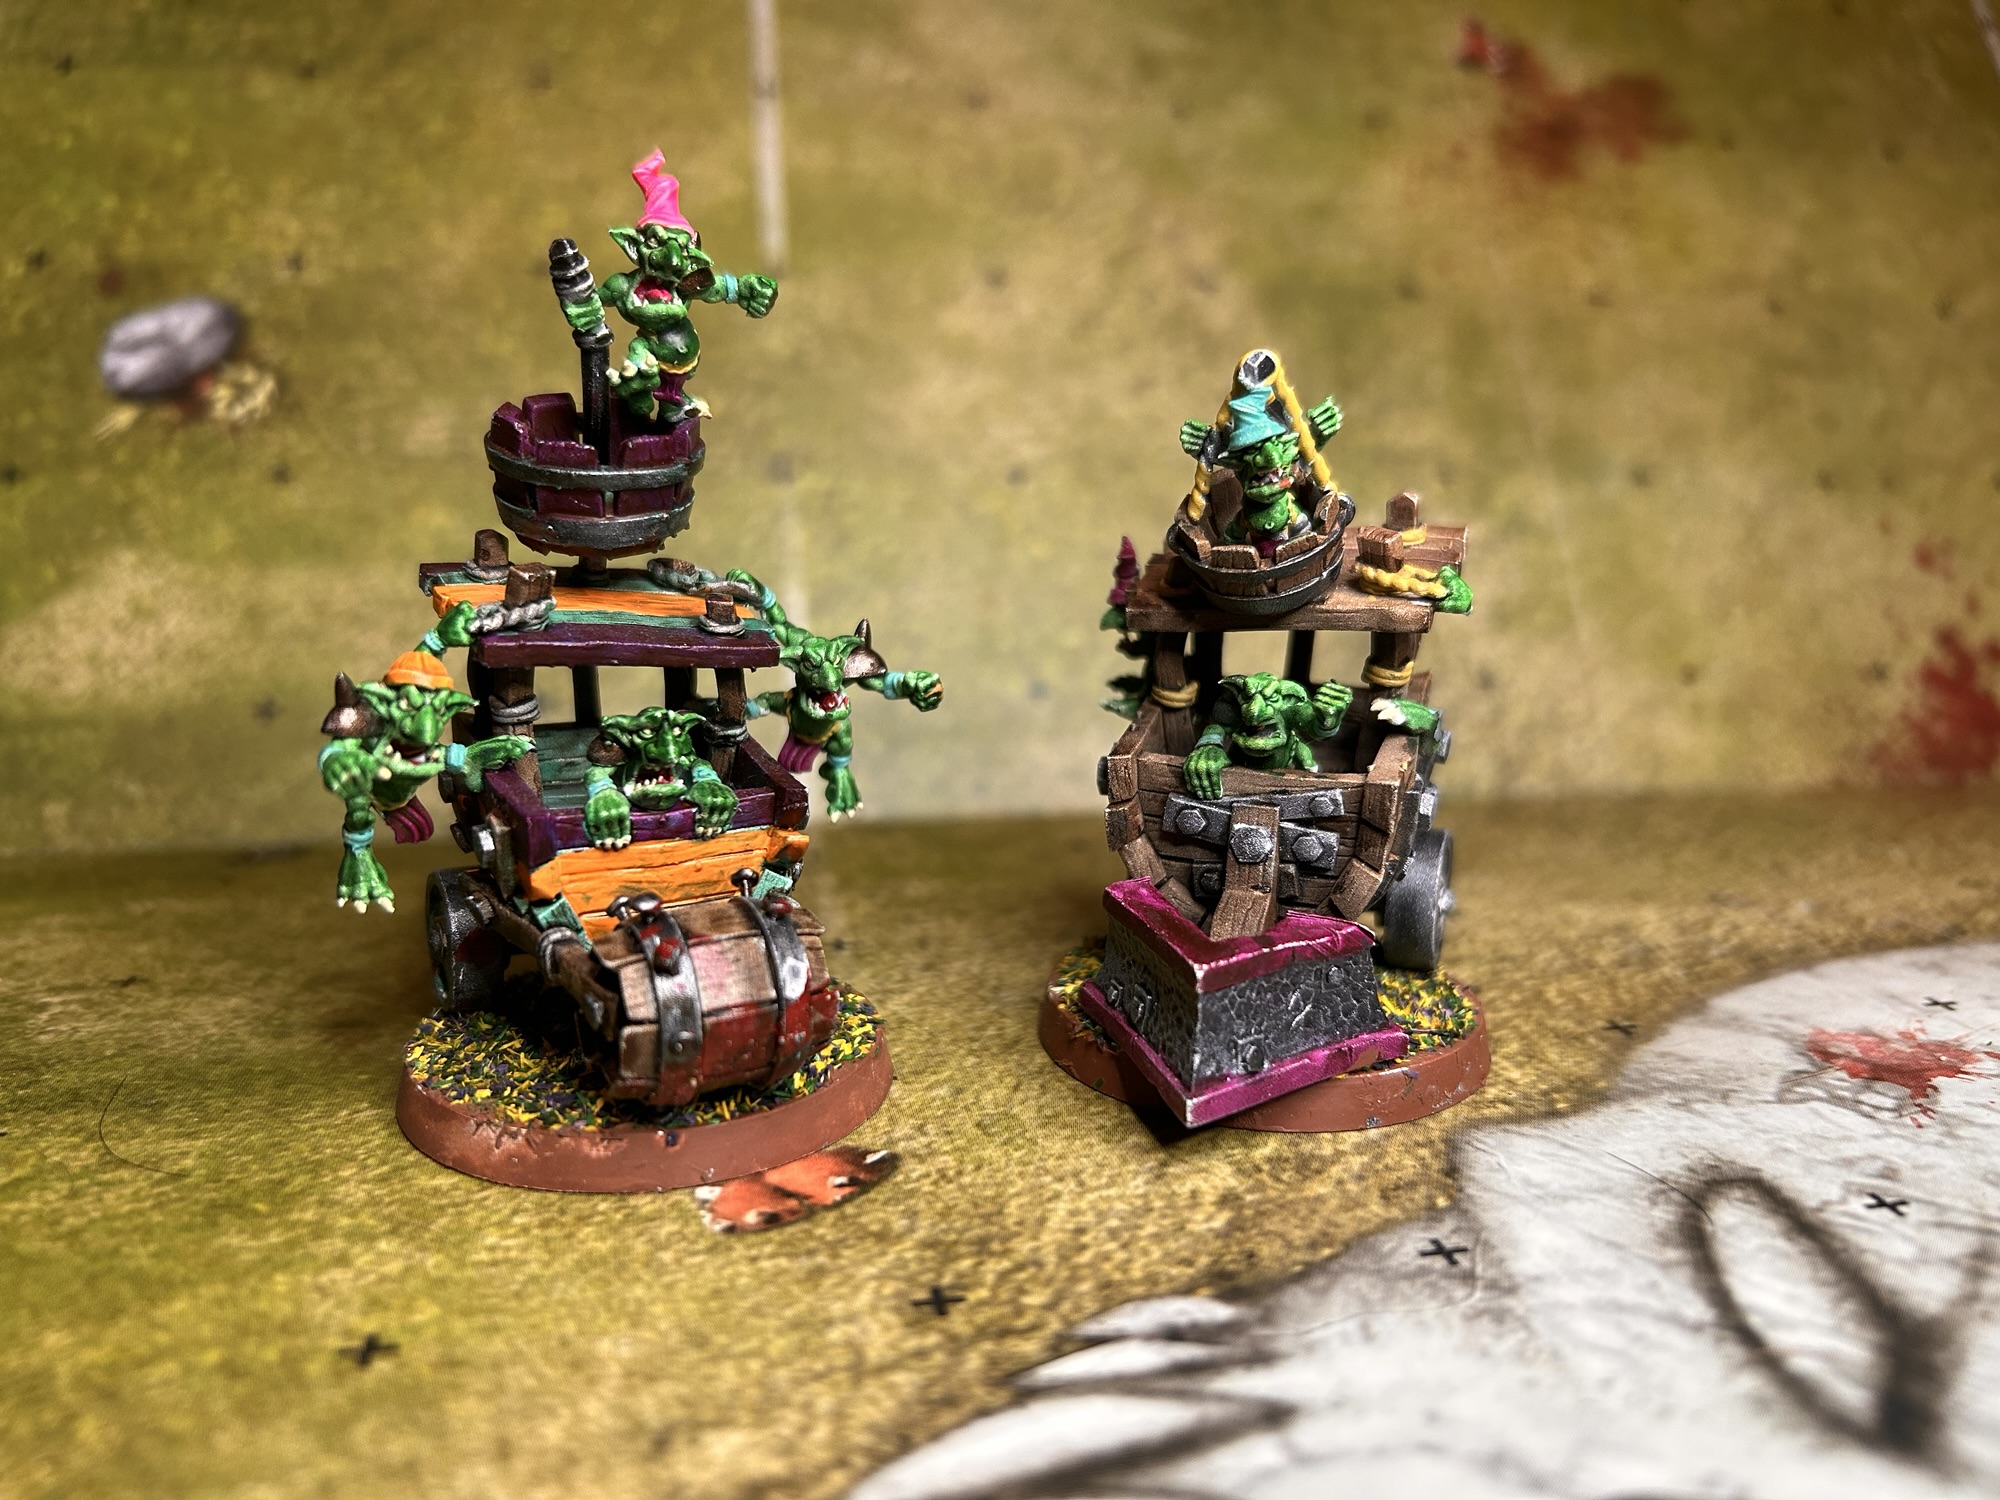

Let’s have a look at how Big Guys can let you down!
Most S5 pieces and some other pieces in the game come with some form of Negatrait. Most of these means that before you can even attempt an action you need first to see if they will be willing to attempt it. There are slight differences between how they work and, therefore, how the influence the way you play. In this post we will have a quick look at each of them and how to manage their effects.
One quick point. You can reroll failed Negatrait rolls, but take into consideration that a lot of the Big Guys come with the Loner trait too. We’ll talk about the Loner Negatrait on this page too.
You can jump to different parts of this page via the buttons below

Bone Head
On Ogres and Kroxigors. Bone Head is the easiest of the skills; simply an unmodifiable 2+ roll is required before you can undertake an action. If you fail your Ogre/Kroxigor will become distracted; losing their TZ and any other skills that might be useful during your opponent’s turn (like Block or Prehensile Tail).
The failure state with Bonehead rolls means you should think carefully about not just the risk/reward of the action, but also the risk of not having the big lump’s TZ.
In practical terms, this might (should) influence your turn ordering decisions. If the Big Boi starts the turn providing assists etc, then you might want to wait to later in the turn to do an action.
Sometimes, you won’t want to act at all. This is true for most Big Guys and we’ll come back to it shortly.
Really Stupid
On Trolls, Pump Wagons, and Beasts of Nurgle. Really Stupid requires a 2+ roll if your Stupid piece has an adjacent non-Stupid friend, or a 4+ roll if they are left all alone. Fail and they become distracted. On most turns this isn’t too bad; it plays similarly to Bonehead. However, it does throw up some additional wrinkles in your turn ordering.

At the start of the turn you need to first identify whether they have a friend in position already, and whether those friends will need to move away during the turn. If the answer to that is Yes and No respectively, then no worries. If the answer is that they have friends now but they need to move, then you might need to bring forward any activation of your Stupid piece.
If El Stupido doesn’t have friends at the start of the turn. You have three options; i) not activating ii) risking the 4+ or iii) moving a piece next to them pre-activation. On most turns, option iii isn’t too difficult, so the question then becomes whether that positional change compromises your overall board state, and also where in your turn ordering that move should be.
On that note, if you are playing against a Really Stupid piece, consider whether you can isolate the big boy from his mates and thereby making them even more reliable.
Unchanneled Fury

On Minotaurs, Yhettis and Bloodspawn. Fury require a 2+ roll to do an action that involves violence or a 4+ roll if they want to do a non- violent act.
The good news with Unchanneled Fury is that if they fail the roll they don’t become distracted.
On this basis, if your plan requires one of these angry beasts to move but not hit, there is no real disadvantage to trying that 4+ early in the turn. Doing it early means having the knowledge of whether it worked and therefore where they will be positioned.
If you have one of these in the team, you want to be violent to get max value from them. This likely means that they will be taking blitz actions. Of course this will waste one in six of your blitzes though.
Using them as blitzers, influences the optimal piece and rest of the team development decisions. For example, Juggernaut is a good early choice to give them some fail-state protection during blitzes. Block is always good. Claws, Horns are good if you have primary mutation access.
Taking blitzes with your Fury Big Guy means that fewer blitzes are being done with the rest of your team, which can starve them of star player points. You probably should develop a secondary blitzer with damage output skills but their order of development might be shifted toward earlier acquisition of skills to get the ball down (tackle, wrestle, strip ball) than a roster without the Fury piece. This is a more nuanced point and something we will come back to much later in the series. I wanted to mention it earlier as it is early example of how you want to maximise value of the pieces of the field by giving them skills that they get to use.
Against Unchanneled Fury the goal is to not give them easy (free) hits. Disconnect from the monster so he has to use his blitz if he wants a 2+ activation. Then, use your other pieces such that the optimal blitz is elsewhere. For example, if the Furious Big Guy is off to the left and the ball is over to the right, then basing the ball carrier could be effective to ensure that the optimal play is to blitz clear the piece marking the ball carrier. That’s an oversimplification, but the wider strategy of using positioning to exert control over where your opponent should focus their hits is a good skill to start developing.
Most Unchanneled Fury pieces have Frenzy and relatively low armour. So a second option is to use these traits to first pull them out of position and then isolate them and bring them down (and step on them until they leave the field if necessary).
Animal Savagery
On Rat Ogres (ROgres). Savagery is a trait where the activation roll is the same as Unchanneled Fury: 2+ to hit something, 4+ to be non-violent. However, the fail state is worse for a nearby rat/goblin/snotling/renegade. On a failed Unchanneled Fury roll a ROgre must knockdown an adjacent friendly player if there is one present (roll armour with +1 for Mighty Blow). If there is no one there to “eat”, the ROgre becomes distracted and loses its TZ and skills.
If the ROgre does get to snack on a friend, then after resolving the outcome for that hit, the ROgre can then go on and do their action. This means you can guarantee activation of the ROgre if necessary. Indeed, they are sometimes described as the “most reliable Big Guy in the game”… Mostly this is ironic as after they eat their buddy they often go on to 1/9 and knock themselves down on their blitz.
Being able to guarantee activation is great when you really need them to work; the most obvious actions being for a One-Turn TD attempt or for a hit on a ball carrier.
In other situations, you need to weigh the value of the action vs the potential cost to your team. Quite often it is strategically beneficial to move your pieces away from the big rat before attempting to activate him. Or to give him a high AV friend to hit (the Orc on a Renegades roster often gets this thankless task).
Note that if the ROgre does hit a teammate, that doesn’t cause a turnover unless the teammate has the ball. Moreover, the hit player can still use their activation if they haven’t already done so for that turn and if they survive being whacked by an oversized rodent.
I’ve played a lot of Skaven and UW games (>100 NAF tournament games as I write this). I find that, defensively, I don’t activate the ROgre very often early in drives. He sits centrally as an anchor point. As long as he is relevant anchor to my line and there’s not a juicy target to create a route to exert pressure. My view is that a Skaven or UW team will lose lots of pieces on a drive owing to their low AV… killing your team mates early doesn’t usually help a drive. However, later, he comes into his own. Jamming into obnoxious positions, making dodges harder with his tail and generally being disruptive is helpful to create opportunities for your blitzers to take the ball.
Take Root
On Treemen, is a 2+ roll before they do any action. On a 1 they Take Root and cannot move until either knocked down or the half ends. You now don’t roll Take Root when standing up from being knocked down (but MA2 Trees need to roll to stand up).

Whether to use a RR on a failed Root roll is dependent on the usual set of considerations; where is the Tree and how relevant is their position, what turn is it, how many RRs do you have available, does the Tree have Loner and therefore how likely will the RR be wasted?
Once your Tree is rooted he can still provide value to your drive. You can use them as an anchor point to pivot around on offence or defence, controlling where your opponent goes. You should also actively look for block/blitz angles where you can push a player back in a Tree’s TZ. From a levelling up perspective, while all the usual skills like Block and Guard are good, Grab can also be effective as a means to keep pieces next the Tree following a pushback result.
Playing against a rooted-Tree it won’t surprise you to hear that the obvious strat of leaving it’s vicinity is wise. It’s often worth taking 4+ or 5+ dodges away at the end of your turns as “the ground doesn’t have Mighty Blow” and it should mean you get your piece back in a turn or two.
I wrote a deep-dive blog post recently that specifically looked at Take Root and throwing Halflings for a one-turn TD; you can find that here.
Bloodlust (BL)
On Vampires and Vargheists (Bat Ogres). This fits on this list as a trait you need to manage to get your team to work. There’s quite a lot to go through here. BL rolls are either an unmodified 2+ roll, or a 3+ roll with +1 if performing a block or blitz. As usual, if they pass the roll, great, do whatever you declared pre-roll.
If they fail, there are options. You can continue with your action as declared or you have the option to switch action from to a move+Hypnotic Gaze action.
After completing your action you have to decide what to do about the failed bloodlust.
Option 1 is to bite a thrall at the end of their activation, but before a pass or scoring a TD. The bitten player can be standing, prone or stunned already. The thrall then immediately suffers the outcome from an injury roll (a Cas here = badly hurt maximum). The turn can then continue unless the bitten player was in possession of the ball.
Option 2 is not to bite. However, here the Vampire player becomes Distracted, losing skills and TZs, and will drop the ball if carrying it. The team also suffers a turnover for failed BL and no bite. Remember that this is before any Pass or TD is scored, so you don’t score the TD if you don’t bite something in this context.

Vampire teams are quite tricky to play, not a beginner-friendly team. You constantly have to manage and react to these BL rolls. Ideally, on most turns, you get into a position where you can choose not to activate every Vampire so that you keep your thralls on the pitch. When you do have to do something, plan for failure. If the action is critical, then identify where you can move your thralls to before activating the Vampire to ensure you have a bloodbag ready if needed. Similarly, consider whether you can afford to accept the turnover after the action completes. This often means changing turn ordering such that the Vamp actions happen later.
Really Hungry
Different sort of hunger now. Really Hungry is a trait on Trolls that means any throw teammate action needs an additional 2+ roll to succeed otherwise your Goblin might get eaten rather than thrown! There’s no real way to manage this… it is part of a Troll TTM. Nom Nom Nom.
You can attempt to RR the Hungry roll (after passing Loner) and can attempt to RR the squirm free roll. The first one, allows you to continue the TTM and would be the best option if you need this to score, whereas the squirm roll has higher success potential as no Loner roll required.

Loner
Some Big Guys and most Star Players come with the Loner trait, usually Loner (4+), although some have Loner (3+), and you might even encounter Loner (2+) from a Prayer to Nuffle inducement.
Note that Big Guys might be Loner on one team but not on another. In the latest edition, some Big Guys lost their Loner trait (Trained Trolls on Black Orcs, Snotlings and Goblin teams), while Ogres on Human teams moved to Loner 3+. Check your team’s roster to see if your Big Guy is more reliable! Note also the May 2025 FAQ put Loner back onto OWA Trees.
What does this mean for you? It means that when things go wrong, you might not be able to fix it, even if you have a team RR ready. Loner forces you to roll a die before being allowed to re-roll the dice. So, when planning an action, with a Loner Big Guy, you need to factor in the risk that your re-roll might not even trigger.
Let’s look at a common example:
A Blockless 2D block has a 1 in 9 chance of resulting in a turnover (double Skulls, Skull+Both Down, or double Both Down). With a regular player, your plan might be “I’ll re-roll if it goes wrong.” That drops your failure rate before any dice are rolled to 1 in 81. But with Loner (4+), the RR only works only half the time and even then, the re-try of the block still might fail. Your overall failure rate becomes 5 in 81 (6%), 5 times worse than a normal player. Not catastrophically low, but it will come up, and your turn ordering planning should take this higher fail state into account.
Key takeaway: Use re-rolls on Loner players sparingly, and only when the risk is truly worth it. As usual, think about whether you will attempt a reroll before rolling the first set of dice.
Playing with Big Guys
With the combination of Negatraits and Loner, your simple goal for a Big Guy often becomes to avoid activating them at all on some turns.
Indeed, in my experience, newer coaches tend to be a bit too gung-ho in using their Big Guys. I recommend adding an additional step before rolling any dice that asks “what happens if he fails his Negatrait roll”.
However, a S5 piece is clearly useful and can be hard for an opponent to deal with. Moreover, not activating the Big Guy also reduces the number of Mighty Blow hits you’re dishing out.
Let’s have a quick aside to consider how good Big Guy MB hits are…
Comparing Big Guy MB hits vs 2D with Block but no MB
Most of the teams with Big Guys also have reliable pieces with Block on their roster. This means on turns where you have a free choice on who to blitz, you often can choose between with a Block-less Big Guy hit with MB, or a hit with Block but without MB.
But which is best?
The natural feeling is that the MB hit will be the most likely to cause damage (Big Guy Smash!), but knowing how much more likely will help you to make informed risk vs reward decisions.
Let’s look at one example: hitting a standard lino target, no defensive skills (no Block, no Dodge, and no Thick Skull or Stunty)
The odds below are to achieve that column.
Comparing Blitzer vs Big Guy hits
| Piece | Negatrait Pass | Target down | Armour Break | KO+ |
| Blitzer 2D | N/A (100%) | 75% | AV8+ 31% AV9+ 21% AV10+ 13% | AV8+ 13% AV9+ 9% AV10+ 5% |
| Big Guy 2D | 83% | 46% | AV8+ 27% AV9+ 19% AV10+ 13% | AV8+ 14% AV9+ 10% AV10+ 7% |
| Big Guy 3D | 83% | 59% | AV8+ 34% AV9+ 24% AV10+ 16% | AV8+ 18% AV9+ 13% AV10+ 8% |
At 2D there is a small advantage using the Big Guy in terms of chance of removal, but the effect of the negatrait roll failing on the board position, and the potential 1/9 failure for the blockless hit vs the 1/36 for the Block hit should be factored in against those slightly improved odds. Therefore, the general advice is that if it will be a 2D block, then most often it will be better to use the Blitzer.
At 3D the chance of suffering a attacker down or both down result goes down substantially (1/27) and the chance of removal has increased sufficiently to warrant using the Big Guy (after considering field state and effect of negatrait failure).
You should always aim to make Big Guy hits 3D!
Getting the balance right on when to risk them and when to leave them is tricky. Like other parts of Blood Bowl, when and where to insert variance takes practice.
Leapfrogging and Dusher Salients
On offence, a good way to reduce activations but still gain value is to move forward on one turn and form your cage with the Big Guy on a forward corner, then the next turn, assuming he isn’t based, the Big Guy stands still and you don’t need an activation roll. You then use your blitz to clear space and assemble the rest of the cage with Big Guy now as a rear corner. If you can keep leap-frogging down the pitch in this way you can effectively halve the number of Negatrait rolls required while keeping him relevant.


The other option is to put the Big Guy to use somewhere that’s not quite essential but still valuable. In our club, we have named a play a Dusher Salient, where the Big Guy pushes into a screening defence in a somewhat isolated fashion. The defence then have to choose between committing multiple resources to take him down, thereby leaving them stretched elsewhere or to dodge away and cede space to advance.

The salient approach won’t always work, and, obviously, depends a lot on the racial matchup.
Additionally timing is critical. It won’t work if done too early and the defence can take him down and still recover position. Similarly if done on a turn where you don’t have an opportunity to exploit any resulting weakness it won’t do it’s job.
Defensively having a Big Guy out of action for a turn is usually less important. However, the equivalent minimal activation plan can be used. Usually you would aim to lay claim to a central position early and then keep the Big Guy relevant by directing traffic toward their location.
Playing against Big Guys can sort of be the opposite goal; the more often you can force them to roll for their Negatrait, the more likely it will fail and present an opportunity. This doesn’t necessarily mean standing to get punched by a S5 Mighty Blow piece every turn, you’ll soon regret that. Rather, it means positioning your team in a way that they need to move to provide value.
Playing against an Ogre team, it is a legitimate strategy to wait for them to have “An Ogre turn” where multiple Ogres Bonehead, and then you can capitalise as their position falls apart.
Occasionally feeding the player to get hit as a means to control or restrict what the Big Guy is able to do is a good option… clearly this is best if the fed player is not very valuable, or has high AV and Regeneration to tank the hit, or has defensive skills like Block and Dodge to keep them on their feet.
Other Negatraits
Drunkard makes rushes harder, needing a 3+ rather than 2+. At present this is only on Norse Lineman (and quite a large number of Blood Bowl players). Norse Linos are MA6, and Drunkard means that most of the time they should move 6 squares or fewer! Rushes aren’t ever free movement anyway, but making multiple 3+ rolls is never a happy place to be. Drunkard can stack with Snow and Moles under the Pitch making all rushes super risky.
No Ball (formerly No Hands) means a player can’t pick up the ball, which also means they cause a turnover if they voluntarily move onto a ball containing space. Your bed sheets won’t be scoring any touchdowns. This trait does also mean throwing bombs at No Ball players is particularly effective (we’ll return to secret weapons in a later post).

My Ball means a player can’t pass or hand-off the ball. This is important to remember if playing with/against a Fox as it limits the Gnome player’s options, or against Dragon Princes on High Elf teams. Once the ball is given to the My Ball player you know that there is no option to move it onward. You can play a narrower game and shut down running lanes late in drives to exploit this negatrait. For HE/Gnome players, this usually means not giving the ball to the Prince/Fox until late in the drive.
Animosity means a player must roll a 2+ to be able to hand or pass to a player against whom they have animosity against. If they fail, they keep hold of the ball. This is annoying and can disrupt your plans, but it doesn’t cause a turnover, so you are able to react to the failure and move to screen the ball carrier. Something to be aware of and think about when deciding which square you plan to hand off from.
Decay adds +1 onto the dice roll for determining injury. Sucks, but nothing you can do to mitigate.

OK, that’s it for now, in the next post, we’ll have a look at Pro and then we enter the wonderful world of fouling. Subscribe below for notifications or check back next Friday.
Missed any of the ones so far?

Enjoyed this? Found it useful?
This is part of an expanding series, come back next week for the next installment.
The text here originally came from our book – Blood Bowl Strategy: Third Season Unofficial Strategy Guide — I’ve made some edits to make it more suitable for online posts. The book is a complete guide to positioning, tempo, drive planning, defensive structures, offensive patterns, league development, inducements, and tournament preparation. 266 pages, ~74,000 words of our collective wisdom designed to take you from a beginner to a >50% win rate coach.
We will be posting excerpts from the book over the coming months – you can subscribe to the blog to receive notifications and the next basics post straight to your inbox.
Physical copies of the book are available on Amazon (check your own country’s listing – e.g. amazon.co.uk here). Or I usually have a box of books with me at UK tournament events. Or message me if you want to buy a batch.
Digital copies of the PDF are available via the button below:


Leave a Reply