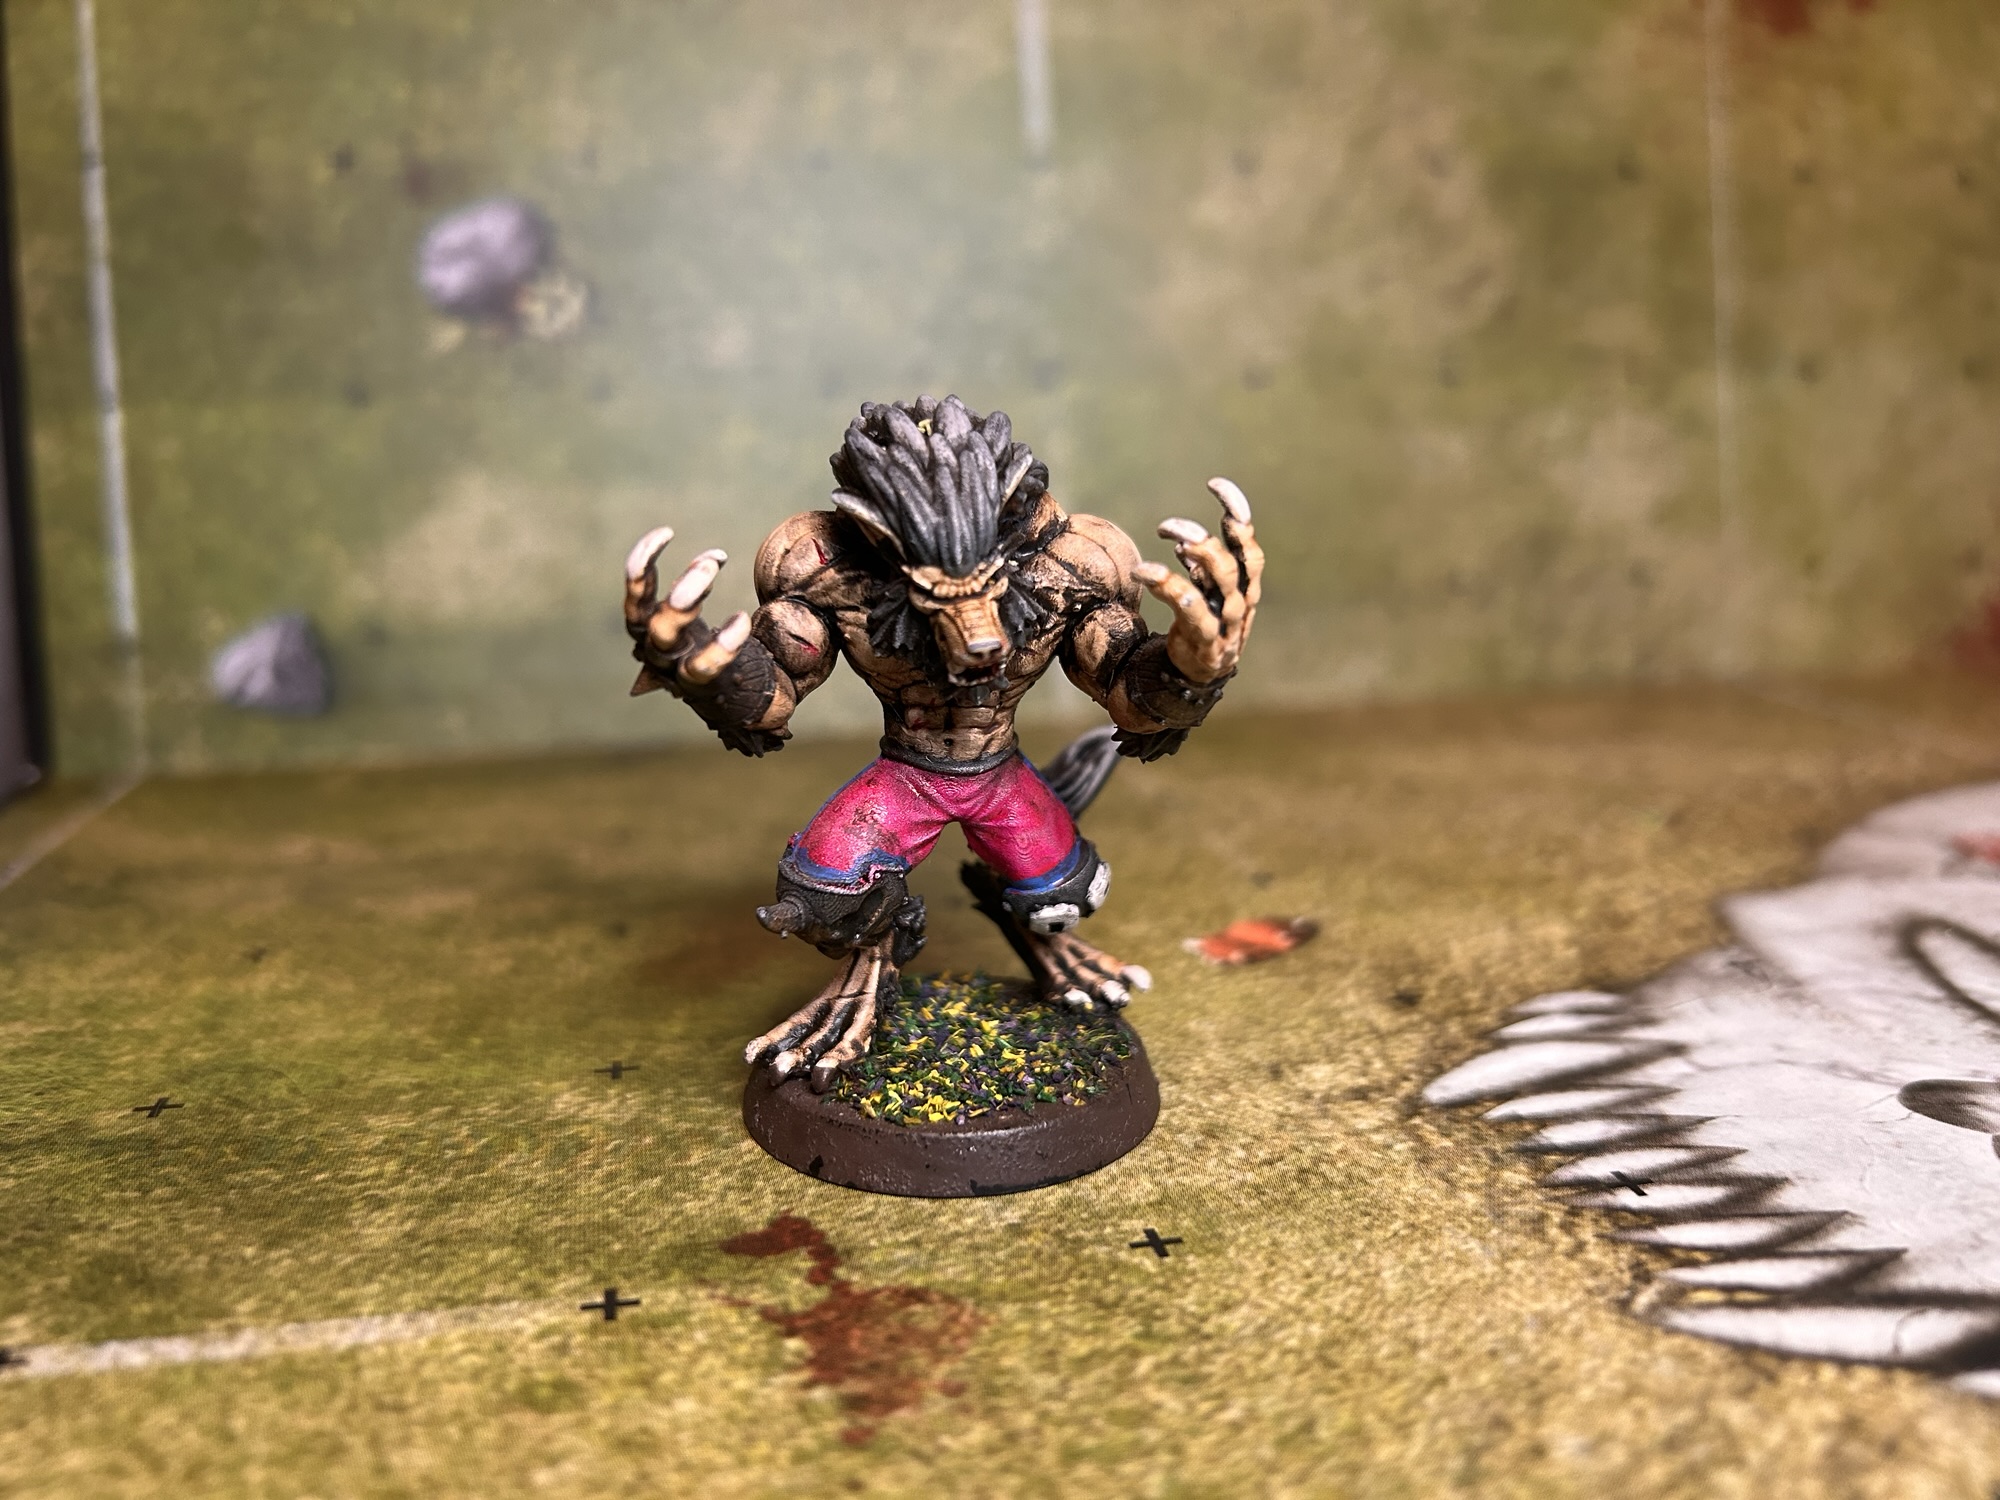

I’ve given the skill Frenzy its own section as it throws up some interesting opportunities and challenges.
Frenzy is an unusual skill in that you must use it, whereas most other skills are optional.
Whenever you make a block or blitz with a Frenzy piece you must follow up after the block and take another hit if your opponent is still standing.
This can be great; it gives you a second chance to take a piece down and gives you a chance to push a player off the field (surf) from two squares out. However, it can be a double-edged sword as you need to consider carefully where you will be following up into and how many dice you will roll for the second hit. A savvy opponent will set “Frenzy traps” where the first hit might be appealing but the second is likely to be a risky -2D or will leave your Frenzy piece open to getting punched or surfed on their next turn.
Angles matter more than ever when making a Frenzy hit. Deciding who and from which angle to hit someone using Frenzy requires calculating the odds of the first hit giving a knockdown vs a Push leading to a second hit, vs Both Down or attacker down, then also working out the number of dice for the second block and its respective odds of success/failure.
Also, the decision involves looking at where you will end up relative to opponent pieces in each situation, and whether that location will mean that you choose to dodge away at the end of a blitz and the odds of that dodge if necessary.
So, let’s try it.
In the pic and diagram below, the Werewolf wants to blitz the Orc Blitzer (block band) and has choices for the direction. Have a look at the options and work out what dice would happen if the Wolf hit from each the different squares, and what the second hit would be if he got a Push result on the first set of block dice.


Explanation
If they hit from square A they get two offensive assists for the first block but if the Orc gets pushed to square X and Y then the second hit will have no offensive assists and now the Big ‘Un provides a defensive assist. This is the classic Frenzy Trap of 2D into -2D. If you compare the other angles available, you can work out options. From square B or square D, it would be 2D into 1D as the wolf would lose one of its offensive hits for the second hit. Whereas from square C, the wolf could Push into position W and get two offensive assists vs one defensive and so have 2D into 2D. Also, blitzing from position B would mean that the wolf would be very likely to end up next to the Big ‘Un after the action and would have to decide whether to dodge or not.

Decision Making – Odds
Like all decisions, calculating risk vs reward needs an appreciation of the relative odds. You don’t need to memorise everything at first, but let’s quickly revisit the odds for the most common situations. These are the ones that you should commit to memory first:
What is the chance of knocking down my target on the first hit (*vs pushes).
Hopefully, almost always, the first hit will be at least a 2D*.
A 2D hit without Block vs a non-dodge piece has 11% (1/9) chance of Skulls/Both Down, 55% of Pow/Defender Stumbles, and 34% chance of Pushes being your best option.
Against dodge, a 2D is 11% Both Down or Skulls, 31% Pow, 58% Pushes.
Knowing these scenarios will help you weigh up how likely it will be that you are forced into making the second hit.
*S5 pieces like Minotaurs, Rat Ogres, Bloodspawn, Vargheists and Yhetti’s should aim to make hit #1 3D whenever possible.
The second question is:
What are my combined chances of failure and successful knockdown when both first and second block are combined?
Let’s start with 2D hits without Block first as most of the frenzy pieces don’t start with Block or Wrestle (Witch Elves, Werewolves, Ulfwerners, Bloodseekers and Khorne Marauder Linemen, Rat Ogres, Bloodspawn, Yhettis, Vargheists, and Minotaurs).
For a blockless 2D, you have the normal 1 in 9 chance of a turnover for hit #1 plus a 1 in 3 chance of rolling Pushes and then delivering a second hit. If you have set it up so that the second hit is also 2D, then you have second 1 in 9 fail state. This gives a total chance of the action leading to a turnover or requiring a RR of ~15% (4/27). This makes a blockless “2D into 2D” only very slightly better than a 1 in 6 action, so your fail state calculation should consider it at the same level as a 2+ dodge, rush or 1D block with Block.
Of course there’s a benefit. Against the increased failure risk, you have an increased likelihood of knocking down your opponent. Again 2D gives 55% knockdown on the first hit via Pow/Defender Stumbles and a 33% chance of taking the second hit. That second hit gives another 55% knockdown chance, so the total chance of getting a non-dodge target down of 74%, which is pretty great.
“Poor man’s Tackle”
When hitting a Dodge piece with Frenzy giving 2D into 2D, the combined hits give 49% knockdown. This compares quite well versus a single 2D hit with Tackle (55% knockdown).
As such, it is often good enough to have a Frenzy piece on your team rather than taking Tackle in a tournament build or early team development, especially as Tackle only works on Dodge pieces, whereas Frenzy will work vs all opponents.

Frenzy skill synergies
Taking Block or Wrestle on a Frenzy piece is quite clearly very good… they are fundamentally very good skills! Either skill takes your overall 2D block fail state risk down to a very acceptable 3% before RRs.
Wrestle, in particular, is great when you want to use your Frenzy piece for sacking the ball-carrier. In situations where the carrier doesn’t have Dodge and you can have 2x 2D hits with Wrestle you have a very healthy 91.5% of getting the ball down before using RRs (75% first block, 22% Push then another 75%). Against Dodge pieces, the combined odds of the ball on the ground are a very acceptable 74%. For this reason, many tournament Dark Elf builds will take Wrestle Witch Elves instead of taking Tackle on a Blitzer, and you even see Wrestle Werewolves sometimes for the same reason.
Other skill synergies include damage output skills (Claw, Mighty Blow) and Tackle; you want to be taking hits with Frenzy and you want those hits to work. Juggernaut can be useful; it stops opponents from using Stand Firm to protect the sidelines. It can also be prudent to get either Stand Firm or Side Step on your Frenzy piece so that you can surf and not worry about being left on the side of the pitch afterward.
In terms of other pieces, Frenzy interaction with some other skills influences decisions (on both sides). When hitting a Stand Firm piece, you do still get/have to take the second hit irrespective of whether or not your opponent chooses to use Stand Firm to stop a Push taking effect. This is different from other push-back dependent skills like Strip Ball and Eye Gouge, which are cancelled by Stand Firm.
You can use your own Stand Firm piece to your advantage as well to control the Frenzy hit. For example, if you can fill the push squares so they fill a box or T shape, and one of the locations contains your Stand Firm piece, then you can use that piece to stop you from having to push back the target and follow up.
The diagram and pic below shows this in action. The Flesh Golem has already been moved into position and then moving two zombies to complete the box prior to the hit. Now the Wolf can choose to not move the Blitzer if the first hit is a push, or could choose to chain-push the Fleshie or a Zombie if they wanted to.


This is a standard play for Necromantic Horror teams and works particularly well if the Flesh Golem has picked up Guard to provide an assist for both hits.
Indeed, more generally, Frenzy becomes much easier to work with when you have a few Guard pieces available to slot in, thereby ensuring you are going 2D into 2D. This is especially true when working with a S3 piece.
Frenzy pieces can’t have Grab, but if other pieces on your team do have Grab, then it can be much easier to set up good angles for your Frenzy and thereby increase surfing potential.
Skills that protect against Frenzy include Fend which can be used to prevent a follow up, so it is up to the defender to decide whether or not you follow and must hit again (Juggernaut cancels Fend and is a useful skill for Frenzy pieces, often a good choice for Rat Ogres and Minotaurs). Side Step is kind of horrible to play against with Frenzy as the stepping player can often control how many dice you will get for hit #2. Be especially careful blocking a Side Stepper near a edge of the field as they’ll likely leave you on the side line as surf bait following the hit. Trickster on Gnome illusionists can also mess you up in a similar way; the illusionist can choose where to take your blitzing player and land them in trouble… such as next to a Tree.

Let’s go Surfing
One of the biggest uses of Frenzy is to control the sidelines. A player standing 2 squares from the edge simply isn’t safe when a Frenzy piece can run over and double push them off (diagram). Those situations are easy to spot and easy to protect against by having a player stopping access to the blitzing angles.


However, you can also engineer surf opportunities from further out relatively easily. Being able to spot those opportunities/threats and how to set up positions so that you get these chances will help your play. As with other aspects of improving your BB gameplay, common pattern recognition will allow you to spot and set up chances.
We’ll have a look at a couple of scenarios below.
The first option here is a surf from three squares out. Using a player (Zombie) that is already in position near the sideline, you can use the Frenzy hits to Push the Orc player twice so that they are on the edge and then give the final little shove into the fans. These sorts of positions you can set up a turn or more in advance and build toward.


The example below shows how you could use Frenzy to surf a player near the middle of the LOS.
It isn’t difficult to set up really; Wraith hits and Pushes the Orc one square (white arrows), Werewolf #1 then does two sets of 2D Pushes (yellow) to put the Orc in front of Wolf #2 who Pushes twice (red), who then hands the Orc to the pair of Zombies that finish the job. With this set up, every hit is 2D and the player positions at the start are largely OK in terms of field position at the start of a drive. You could even swap players round a bit and make it so the final hit was a Werewolf blitz for maximum repositioning flexibility.

I’m not saying you should try this, just that you can!
You aren’t likely to get all the pushes you need here, but as you can accept Pows all along the way, you don’t necessarily lose much by attempting it and can pivot to a different option once the Orc is on his back. Indeed, this positioning also illustrates a way to maximise hits and therefore the chance of getting that piece on the ground, which is a generally strong strategy anyway.
Just so we know; the odds of getting Pushes from a 2D block are 55%, so 6 sets of pushes are ~1.5%. It wouldn’t be worth rerolling any Pows early in the sequence but perhaps worth considering if you get all the way to the Zombie stages.
You don’t need Frenzy to achieve this per se, you could do it with single Pushes, but it would take a much larger commitment.
Threat
The threat of a Frenzy piece causing a surf can be powerful as a tool to affect your opponent’s decisions.
If they know you are looking to remove pieces from the field of play and into the crowd, then they are likely to play narrower, moving toward the centre of the board. This can either allow you space to get around the outside if on offence, or allow you to compress your opponent’s drive to a narrower space on defence.
Whenever you can control where an opponent wants to go gives you an opportunity to have the correct pieces in position to exploit that prior knowledge.

Playing against Frenzy:
Buddy system and Sideline Chevrons
As Frenzy pieces must follow up blocks, one of the best defensive strategies is to position your pieces so that they don’t want to follow.
The Buddy system is quite simply having any of your pieces that could get hit by Frenzy having a buddy in direct contact. The Frenzy piece now will end their turn based even if the block is successful. Most of the pieces that start with Frenzy have quite low armour, the proverbial glass cannon, and leaving them based will feel risky. Indeed, there is even a phrase; “Necro Blitz”, that refers to a player hitting with their Werewolf and then 3+ dodge away afterward to return to safety. Those 3+ dodges, of course, can fail and eat up RRs or get the doggies stepped on.
Stopping your pieces from getting surfed usually involves blocking the route to the surfable player (or not standing there in the first place). The simplest way is to have a player diagonally in front of a player 2 squares from the sideline and connected to the rest of your line so an opponent can’t run around the back.

In the diagram the Orc player wants to stop the Necromantic from pushing down the side and so has popped a Lineman in position 3. To stop him from being easily surfed, another Lino has taken up position 2, which blocks access to the surfing angle. However, as you’ve seen already, the player in position 2 also needs support or he could leave the field, so another piece has been put in position 1 to stop the Wolf getting to the optimal angle.
To illustrate the Buddy idea, I’ve popped in a Troll and Big ‘Un behind. Now if the Werewolf blitzes the Lino in position 1 they would end up next to one of his two bigger buddies behind. Getting hit by a Mighty Blow Troll or Big ‘Un isn’t very appealing…
Frenzy and One Turn Touchdowns (OTTD)
I have a full chapter in the book (and we will cover this in later posts here) on how to score a one-turn TDs, so this is just foreshadowing to say that Frenzy can be very useful in OTTD attempts.
The big advantage is that you can get two hits from a single player, which opens up options to gain an extra Push downfield. The other benefit is that you can start with a Frenzy block rather than using your blitz. By pushing the blocked player along the line and then down into a hole, you can start the sequence of chain-pushes required to get your scoring threat into range. The advantage of this is that it means you still have the option of the blitz to allow a hit on a different player if your initial plan fails.
Being able to blitz can allow a M7 piece with Hit and Run to move 8 squares, thereby requiring one fewer chain pushes to get them in range. Conversely saving the blitz can allow a M8 piece (like a Werewolf) as the ball-carrier to punch a hole through a backline on a 3+ 1D hit rather than requiring a 5+, 4+, 3+ dodge sequence to dodge their way through.
The video below shows one way to get those pushes without using the blitz.
Next week, we’ll follow up some of the concepts here to talk about maximising your block damage. If you subscribe below you will get the posts straight to your inbox. Buttons below will also take you to the previous posts in our “Blood Bowl Basics” series.

Enjoyed this? Found it useful?
This is part of an expanding series, come back next week for the next installment.
The text here originally came from our book – Blood Bowl Strategy: Third Season Unofficial Strategy Guide — I’ve made some edits to make it more suitable for online posts. The book is a complete guide to positioning, tempo, drive planning, defensive structures, offensive patterns, league development, inducements, and tournament preparation. 266 pages, ~74,000 words of our collective wisdom designed to take you from a beginner to a >50% win rate coach.
We will be posting excerpts from the book over the coming months – you can subscribe to the blog to receive notifications and the next basics post straight to your inbox.
Physical copies of the book are available on Amazon (check your own country’s listing – e.g. amazon.co.uk here). Or I usually have a box of books with me at UK tournament events. Or message me if you want to buy a batch.
Digital copies of the PDF are available via the button below:




Leave a Reply