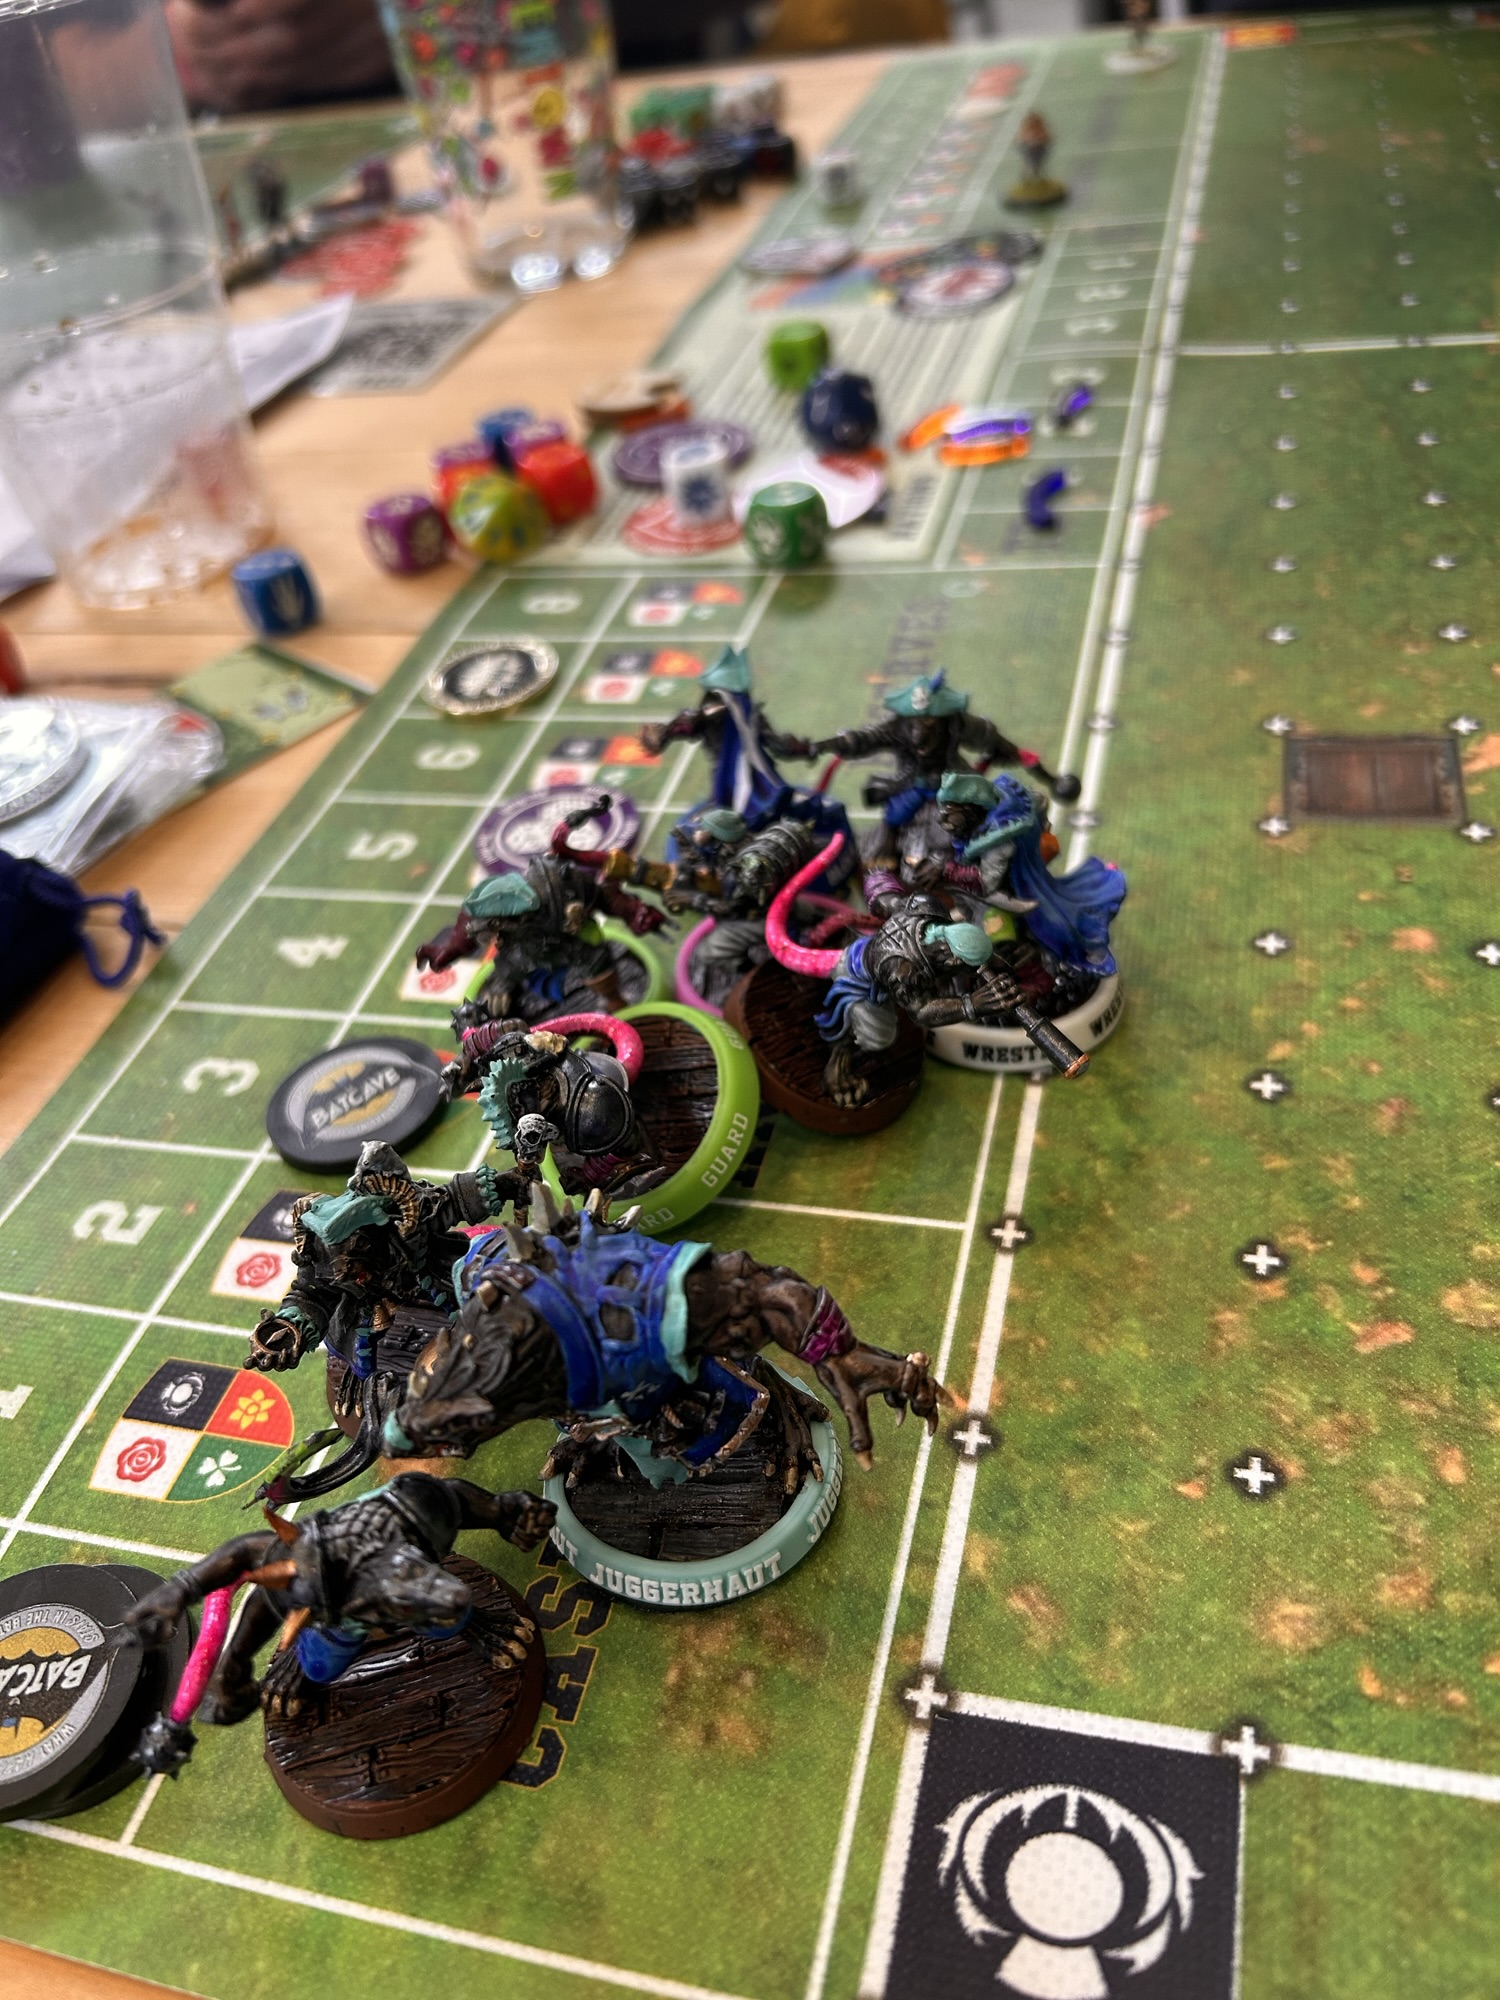

This instalment of our fundamentals series deals with getting the most value out of your blocks.
It’s quite a long post, so the buttons below will take you to the different parts

Armour Breaks and Injuries
The risk of a block is that the attacking player goes down, part of the reward of taking that risk is the chance to remove the player getting hit. Indeed, for most teams, most of the time, maximising blocks is a solid strategy.
Caution is warranted though, a strategy built solely around removals is very much slave to rolling well. Damage generation should usually be seen as a way of making your objectives easier rather than a route to victory on their own (previous post on win conditions here).
In your risk/reward calculations it is worth having an idea of how likely it is to break armour and thereafter to “de-pitch” your target (i.e. KO or better).
Often an armour break is good enough; the stun+ gives you time to get away from someone, so let’s look at those outcomes in isolation.

On turns when you have a choice in deciding who to hit with your one precious blitz per turn, if all other things are equal, then hitting an AV 8+ piece is about 50% more likely to break armour than AV9+ (but only once you knock them down first, we’ll come back to this point).
Skills
Claws allow you to reduce any player’s armour to AV8+. So, hits with Claws will break armour 42% of the time.
Mighty Blow (MB) allows you to add +1 to the armour roll (if needed) to break armour. If you break armour without using MB, this is often said as “through, without”, you can instead use it to add +1 to injury rolls.
Note that Claws and Mighty Blow don’t stack, so players with both skills will break armour on an 8+ and will use MB on the injury roll.
When deciding which of your players to use for your blitz and who to target, you should consider the putative pieces’ skills and therefore likelihood of knockdown, the target’s armour and whether you have Claws or Mighty Blow within the equation.
Removal Odds
Once you have broken armour, we only have to consider a relatively simple equation:
Unmodified:
- 58% of armour breaks lead to a stun,
- 42% will remove the player from the pitch (KO or Cas).
We don’t need to focus too hard on KO vs casualties in the thought process; off the pitch is a good start!
Mighty Blow (or Dirty Player for fouls)
If still available after the armour break, then the odds shift to:
- 42% stun,
- 58% for KO or better.
Thick Skull
If the target has thick skull it is harder to get them off the pitch; you now need a 9 or more to de-pitch the player (28%).
- 72% stun (unmodified rolls)
- 28% for KO+
Stunty trait
Most Stunty pieces leave the pitch on a 7+ “Stunty KO”, so it becomes 58% removal. Black Orc Goblins are an exception as they have Thick Skull, so are back to needing an 8, same de-pitch odds as normal but higher CAS likelihood (stunties cas on a 9+).
Punching a Stunty player with MB is just mean (therefore a good idea). It will removes the plucky upstart a massive 72% of the time, with 42% CAS
Remember all these odds are after armour break and after the knockdown.

I’ve thrown a lot of numbers at you but how can having these rattling around your head help you win games?
One important thing to take away is that the overall odds of any individual hit removing a player from the field isn’t great. From a strategic perspective this means two related points.
- Maximise the number of hits you make and minimize the number you take, so the odds eventually shift in your favour.
- Don’t rely on any one hit leading to a removal.
How valuable the target is, where they are standing and where you want to go, and the odds of getting someone down vs suffering a turnover all combine to make the decision on who the best target is. Indeed, on many turns, you don’t really have a free choice of target.
The exceptions are often on the first couple of turns of a drive when the ball is quite far away. In there turns, choosing a blitz target based on removal odds could be a route toward “snowballing”; getting ahead on numbers and then dominating the board.
Example
Let’s explore the odds-based decision making in an example.
You are playing against a Wood Elf team, and they’ve done the classic Elf tactic of detaching all their players from your team. Very unsportingly, this means you only get one punch this turn via your blitz action. But who to pick?
- Option 1 is a Wardancer with Block, Dodge and AV8+, you can get a 2D hit on this prime target with one of your Block pieces.
- Option 2 is a Treeman (S6, AV11+, Thick Skull, Stand Firm), but here you can only get 1D with Block and Mighty Blow and it will involve committing multiple pieces.
- Option 3 is a Catcher (S2, Dodge, AV8+), because of the lower strength, you can get a 3D hit with Might Blow but let’s assume that you want to retain position, so it would be a hit without the security of the Block skill.

But which one should you pick to hit if you wanted
- i) lowest failure state
- ii) best chance of knockdown
- iii) best chance of removal?
Explanation
These sorts of decisions are common throughout the game. What is “correct” depends on the board state and positioning first, but from the block alone, here are the stats. Note that each option would be “best” for a different outcome.
- 2D with Block on a Wardancer with Block and Dodge:
- Failure state 3% (double Skulls), 31% chance of a knockdown (Pow required) Chance of removing the player = ~5% (31% x 42% armour break, 42% KO+).
- Lowest chance of knocking down player but also lowest failure state, and bonus of potentially dead ‘dancer!
- 1D with Block and Mighty Blow on a Treeman without Block:
- Failure state 17% (Skull), 50% chance of knockdown but no push option due to Stand Firm. Total chance of removing the player = ~3% (50% x ~6% (because of Mighty Blow + Thick Skull ~17% of stun+).
- Highest knockdown percentage, but also highest failure state. Bonus of Tree on ground that can be slow to get up! Failing to get a knockdown would likely mean three of your players are based on the tree and harder to move next turn.
- 3D without Block on Dodge catcher:
- Failure state 4% (Skulls or Both Down on all three dice), 42% chance of knockdown (Pow only; however, you could accept Both Down if you want to max damage chance). Total chance of removing the player (not including Both Down) = ~7% (42%x 42% armour break, 42% KO+)
- Highest removal chance but not as valuable a target as the ‘dancer.

Generating more blocks means more chances to remove opposing players, and that can feed into your win condition.
One of the simplest ways to generate extra blocks from a turn is through blocking diagonally rather than straight ahead, so you can choose a Push location along a line. This allows you to hit the same player multiple times in succession.
In the diagram the Lizards have options of getting an extra chance for each hit. By hitting on the diagonal, if they get a Push they can force the hapless little Linerat into getting smacked by another Saurus. If they get the Pow, they can push them backward off the line to create space for others to be forced sideways.

As you can appreciate after all our probability discussions, if these hits are each 2D without block on either side then a single attempted hit has a 55% chance of knockdown, so planning for a re-try to be available makes sense… turn 55% into 80% with two hits.
This sort of setup is often baked into your starting formation on offense, where you can engineer a “block funnel” that corrals the line of scrimmage defenders into repeated hits. It might not be optimal to commit everyone as you aren’t covering for a potential Charge kick-off event and you might want some big Lizards free to act on turn 1 (more on this in later posts), but more hits = more chance of dead Rats = a happy Lizard coach. Remember of course that more hits = more chance for 1/9s as well!
Engineering extra hits on your Blitz action
For blocks, on a standard turn, you get to take what is available. But for your blitz you have one shot per turn chance to hit any opponent from any angle that you can reach. This flexibility makes it a tool for engineering extra blocks, especially when the board state is otherwise static.
Your Blitzer positionals are often faster than the rest of the team, usually giving them reach to flank or hit isolated opponents from the rear. A well-angled blitz can push an opponent into contact with another of your players, setting up a second block.
In the next diagram, any of the Saurus could hit any of the Linerats for 2D owing to their superior Strength; however, the option shown allows the push direction to create a re-try attempt, whereas all the other hits would push the rat away from the other Lizards (or would need a rush or dodge to get the right angle).

If you’re at an early point of the drive, it is quite likely that the primary goal of your blitz is to knock someone down and have a chance to create damage. In those situations, actively look for opportunities to generate secondary hits. Blitzes that create blocks maximise your chance to take a player down and out.
This concept is also particularly worth having in mind when lining up hits on pieces that are hard to take down in the first place… a Block+Dodge piece, like the Wood Elf Wardancer earlier, will only go down 31% of the time on a 2D blitz. The more 31% rolls you make, the more often you will get that player down.
Looking at the push location before you decide who to hit is also a way to increase the relevance of your Big Guys. Pushing an opposing piece into contact with a S5+ piece on your team might create problems for your opponent on their next turn. For example, forcing a piece back toward a Nurgle Rotspawn (with Tentacles) or into a Treeman, especially if they are Rooted, are good ways to maximise value of the Big Guy,

If hitting more often is a good strategy, getting hit less must also be good!
As a general starting point, consider who on your opponent’s team will be standing at the end of your turn or can stand up via Jump Up or Pick Me Up. If you can engineer it so that none of your players are in contact with them, then usually your opponent is restricted to only their blitz, barring any chain pushes and secondary blocks on the same piece.
To get to a point where you are disconnected from a starting point of having most pieces in contact, means either punching your way clear or dodging away. Your plan for the turn should take the end-state into consideration to make decisions “If I dodge now, it needs a 3+ roll, but if I blitz that player then my dodge out becomes a 2+”.
The next-level improvement involves stopping repeat hits. This involves denying your opponent the geometry they need to turn one block into two. Can you disrupt the angles and spacing such that a blitzing piece can’t get to a position where they can force your piece into another one of theirs. That means your defence must anticipate not just who will be blitzed, but from which angles. One of the simplest and most effective ways to do this is by maintaining a two-square buffer between your players, and your opponents. If your pieces are spaced just far enough away, a Push from one won’t feed into a second block.
The other mechanism is to stop the blitzing player getting to the angle they need to block back down the field, or making it too far for the blitzing piece to return to safety. Or, better still, if you can use positioning such that they either can’t get a 2D hit from the angle they need or if the hit would leave the blitzing piece in contact and liable to get blocked back if they went for the hit. For these situations, the sideline can be your friend, blocking the route to the optimal angle.
These are all things to develop as you gain experience as a player.

While it is generally a good idea to not get punched (in life as in Blood Bowl), sometimes you do just have to stand up and take your licks. There are two reasons, both related to controlling your opponent’s choice.
First, tagging a piece can control what that piece can do. A player that is based by one of yours either must blitz or dodge if they want to move. Sticking a low-value piece (e.g. Zombie) on a piece that can’t dodge well (e.g. Rat Ogre) will ensure that the latter is punching your “chaff” rather than rampaging about or repositioning at will. Tagging a player in this way can be situationally valuable on offence and defence; it can take an important piece and hold it away from the action, allowing you to gain local superiority where it matters.
The second reason is a concept of using up activations. At the start of each turn, your opponent can theoretically do an action with every player. If some of those activations become largely irrelevant then they have fewer options. For example, if they have to build a cage to protect the ball, then some (often 5+) players are used up in caging. If you go into base contact with their other free pieces, then yes, your piece might get hurt, but the punching players aren’t going to be moving far, they’re not repositioning to protect the ball or to tag-out your pieces. This can give you numbers advantage to increase pressure on the cage.
If you have Stand Firm and high Strength (e.g. S6 Treemen, S4 Flesh Golems and Nurgle Bloaters all start with Stand Firm), then jamming a piece in to soak up hits from multiple players can be a useful strategy to give you more options elsewhere.
More generally, putting pieces into contact forces the opponent to either make dice rolls or get hit the following turn. It is one way through which you can crank up the pressure and force opportunities.

All in or Not in
This is probably a good time to mention that usually it is best to either go “all in or not in”. Tanking hits as a mechanism to increase pressure is risky! At some point your opponent will get removals, and once you are down pieces it becomes easier and easier for your opponent to solve the problems you set.
On most turns you want to give up as few free hits as possible, but when you go all-in, your opponent will have far fewer options on how to respond.
The skill of identifying when to pivot from avoiding contact to full contact is one that takes time and practice to get right. Some teams with high baseline armour (e.g. Orcs, Dwarfs) and risk being in contact more often, whereas low AV teams (Skaven, Wood and Pro Elves, Stunties) would be better served being very selective about when to expose their pieces.
My big advice to start with is to make it a conscious decision. “This is my all-in turn”. On a long drive, it is often Turn 6 or 7, that will get the most benefit. It’s on these turns that your opponent has to get forward, so using up activations and reducing their choices cand be one way to make it hard to advance. Note that this is highly variable and board state dependent and score dependent, but the core idea is that as the clock is winding down your opponent’s options decrease so anything you can do to decrease those options further can be effective.
There is a pseudo-strategy that is based on a premise of increasing pressure by going into contact usually repeatedly over multiple turns. To herp-a-derp is to jam your players in to try force a bad roll (1 in 9s will come up eventually). Tanking hits over the course of multiple turns relies on superior armour, higher strength and skills like Block, Dodge and Guard to keep your players safe. The term is usually used in a derogatory way as it is a little bit of a mindless tactic (on the face of it). However, it will sometimes work particularly for strong teams vs weaker opponents.
If you go this route, make it less mindless and more strategic by making sure the free hits you give up are going to be from opponents without Block or Wrestle, and where they can’t automatically generate a 2D hit i.e. the risk profile of the free hits should be as high as possible. Indeed, going full-press against a weak team can force them to dodge repeatedly and this can lead to RR usage and failed dodges.
A big word of caution; herp-a-derping can go horribly wrong when you start losing players. It is a strategy that can help you win some games when used effectively, at the right time and engaging the right players.
The counter strategy to a full-press team is to adjust your positioning such that you guarantee to have some free players available every turn. To do that, screen in layers rather than all on the same line so that they can blitz one of the front pieces but some of your second rank pieces will remain free. If your opponent can’t engage all your pieces, you should be able to manoeuvre such that you can find a 2D blitz that sets up a chain of safer hits or dodges.

To Follow or not to Follow up Blocks
This is quite a nuanced decision when it comes to pitch control and something that becomes a key decision with every block.
A good starting principle for new coaches is to follow up blocks when you’ve knocked the opponent down and won’t end up adjacent to another standing player.
This simple move of marking downed players restricts their options: if they merely get up, they’re marked and risk another hit on the next turn, if they stay down, they are out of the game for that turn at least, and if they stand and dodge away there is a risk of failure. Multiply this across the pitch and you begin to control tempo, reducing the number of active threats and restricting your opponent’s options without needing removals.
Following up isn’t always wise. If the square you’re moving into puts you next to another standing opponent that you won’t be able to hit with someone else, you’re inviting retaliation. Following into scrums, scary positions, or near the sideline can backfire; your player might be blitzed, surfed, or pulled out of formation. Sometimes staying put preserves your shape and keeps your options open.
The key is to weigh control against exposure. Follow when it pins a player safely. Stay when the square is risky, crowded, or tactically irrelevant.
Following up isn’t always possible either, the Fend skill allows the Pushed/Knocked Down player to decide whether they will allow the follow or not. Fend is cancelled by Juggernaut on the Blitz. One of the skills added to the newest edition of the game is Taunt, this skill takes away the choice of following or not from the blocking player and hands it to the blocked piece. If, for example, an Orc Big ‘Un with Taunt gets pushed back, they can force the blocking piece to follow. This will almost certainly disrupt any assists the player would otherwise want to make and, more importantly, open them up for a Mighty Blow hit next turn.
Some other skills affect the follow up decision:
- Jump Up on the hit player might mean that the downed piece you are tagging can block you from the floor (usually on a 2+ roll).
- Similarly, the Norse Beer Boar and Rotspawn have Pick Me Up, which means that players that are prone within three squares can get to their feet at the start of their turn on a 5+ roll. Following up to tag a player in range of the Pick Me Up piece(s) could mean you give up a free hit rather than tagging and controlling the downed piece. Either of these skills can get you into trouble by giving up hits from players on the ground.
- Steady Footing is also relevant here. This skill gives the piece a 6+ roll to avoid going down, effectively a ward save. Yes, it is unlikely, but it does come up and when it works it is really annoying. Certainly this is something to consider when the steady footing piece being upright would lead to a based cage/ball carrier. I wrote an extensive blog post about Steady Footing and decision making – you can find it here.
- Hit and Run is a powerful skill that lets a piece move away from contact after making a block or a blitz. The hitting piece gains a free square of movement (no dodge roll required) as long as the square they move to is not in contact with an opposition player (standing or on the ground). It can also now be used with the Stab special action, meaning you can get your Assassin away to safety after an attempted shank. One of the most valuable use cases of Hit and Run is to use it as part of a blitz through a line; forcing an opponent diagonally back then stepping forward on the other diagonal to effectively gain an extra square of movement. Turning M7 Dark Elf Assassins or Amazon Blitzers into de-facto M8 pieces can open up lots of options, including helping one turn touchdowns. Hit and Run is now available on the Agility skill tree and can be a high-value late pick for players where you frequently want to reposition or dissociate from the opposition.

Bad news, one of your players has been punched and isn’t getting up. How do you know if it is time to send for the Apothecary? As with everything else, the answer is situational. Here is a series of questions to factor in to your decision:
- Is this a bog-standard Lineman getting punched or your best player?
- Have you already lost 3+ players in this drive?
- What turn is it?
- How bad is the injury?
- Is it a league game or friendly, cup, or tournament game?
Apo’s can be used in three ways i) to remove the effect of a Badly Hurt (injured player moves to reserves and can play in the next drive, ii) to reroll injury rolls of Miss Next Game or worse, in the hope that the new roll is better. If the new roll is Badly Hurt you can use them on the next drive (1-8 on a D16 = 50% chance of working for a player with no niggling injuries), or iii) they can be used to turn a KO into a stun result. Remember, the chance of returning after being Knocked Out is 50% per kick-off. Per kick-off is important, as if you are considering an apo use on T7 or 8 then there might be two kick-offs before the second half, giving you a 75% chance of the player returning naturally.
General advice is in shorter format league play is to mostly use your Apo for injuries that reduce statistics or deaths, not necessarily MNG unless late in a game. Niggling Injuries fall into a middle ground. Niggles are manageable for most players but still consider using your Apo to stop a Niggling Injury if it is an important, skilled up or expensive piece. Similarly, if a player already is niggled, then they likely lose their Apothecary privileges, as the odds of success drop quite rapidly as each Niggle adds +1 to the D16 roll.
In tournaments, knockout-style playoffs, or exhibition play, the general advice is using the Apo for either Badly Hurt players in the first half, or for a KO early in the second half*. Situations where you might ignore this advice and reroll a more serious injury is if it is a very special player (e.g. Wardancer, Rat Ogre, Bloodspawn, Witch Elf, Vampire) or, possibly, if you are down too many** players early. In those situations, using the Apo to try and stay in the game can be a solid although more risky choice.
*Lizardmen and Black Orcs usually want to use their Apo on the first KO of the game.
**What constitutes too many varies by race, whose drive it is, and the opponent, e.g. Elves can cope with having fewer players compared to some of the slower teams like Dwarves and Orcs.
Next Week… Big Guys and Negatraits
Missed any of our previous posts?

Enjoyed this? Found it useful?
This is part of an expanding series, come back next week for the next installment.
The text here originally came from our book – Blood Bowl Strategy: Third Season Unofficial Strategy Guide — I’ve made some edits to make it more suitable for online posts. The book is a complete guide to positioning, tempo, drive planning, defensive structures, offensive patterns, league development, inducements, and tournament preparation. 266 pages, ~74,000 words of our collective wisdom designed to take you from a beginner to a >50% win rate coach.
We will be posting excerpts from the book over the coming months – you can subscribe to the blog to receive notifications and the next basics post straight to your inbox.
Physical copies of the book are available on Amazon (check your own country’s listing – e.g. amazon.co.uk here). Or I usually have a box of books with me at UK tournament events. Or message me if you want to buy a batch.
Digital copies of the PDF are available via the button below:


Leave a Reply