
Before the solutions, let me just say what was in my head here. I could have swarmed around the ball and put some sort of goblin screen downfield, but I felt it wouldn’t be good enough to stop the advance. I’d likely be rolling uphill dice the next turn at best. However, I also looked at the potential solutions and thought “if this fails, the Norse score”, so I was prepared to put RRs in.
My Solve – Troll Blitz
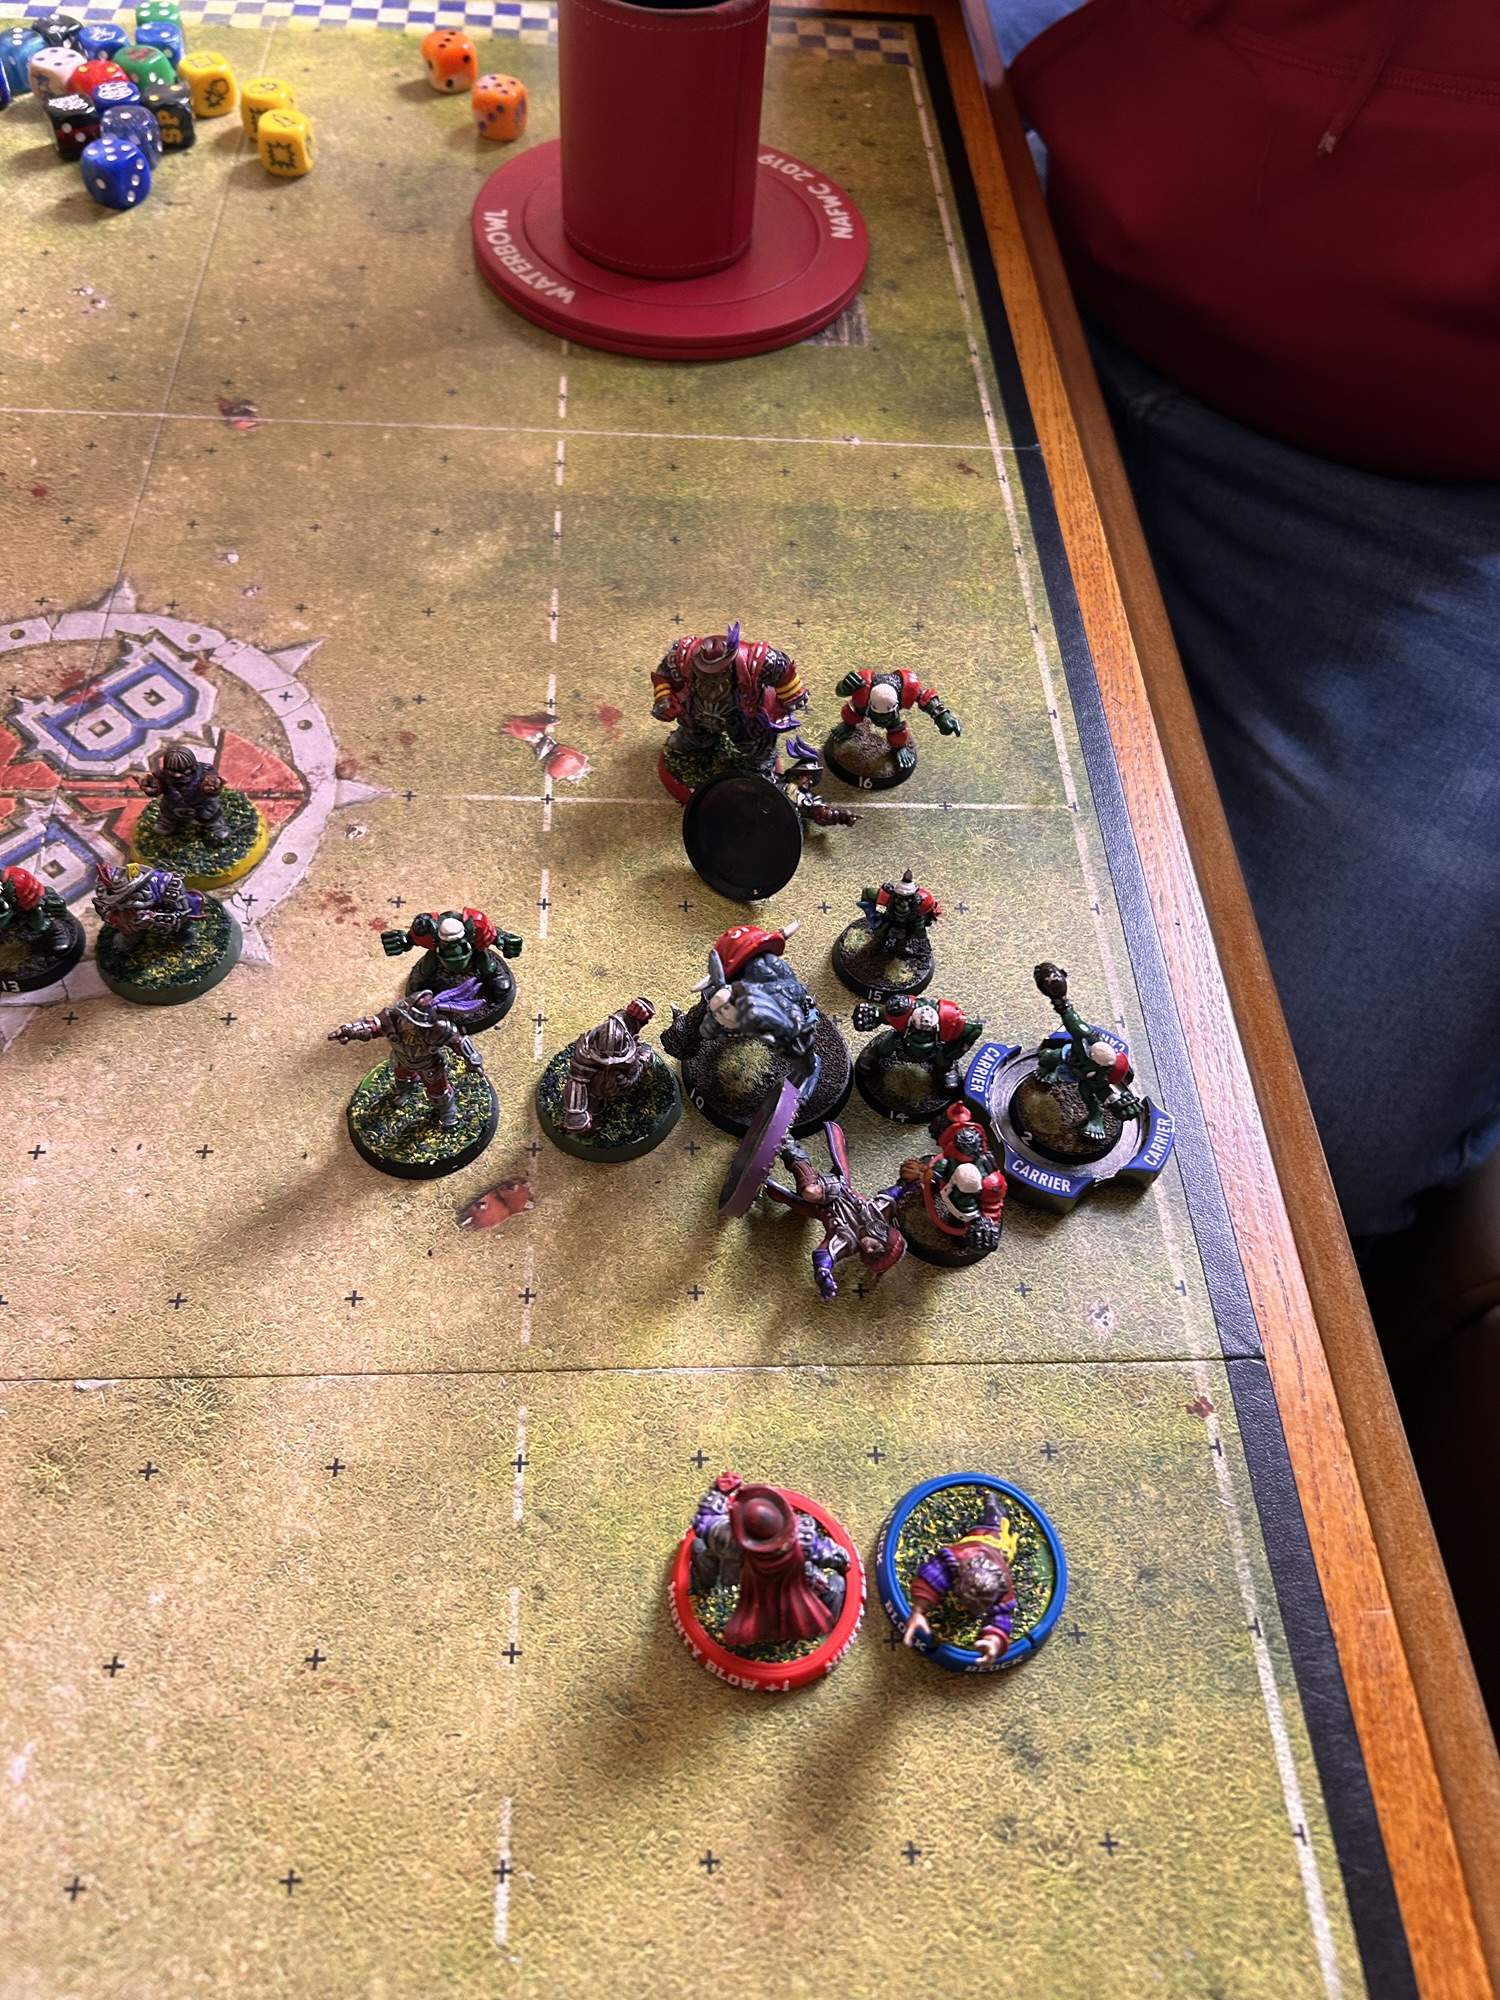
Hero Troll? Let’s go.
The instant thought when you have a Norse player surrounded by BOs is “can I use him to chain pieces closer”. So, the plan became; BO #1 into A, pushing the Troll South West. Before that, Goblin 7 and BO #4 move to fill the gaps where I will need them to avoid needing a dodge in the middle of the play.
3D needing pushes (with brawler available) – 76% without RR. Questionable whether I would RR pows here; there’s still a lot of dice afterward, at the time I decided that I would pivot to a different option.
IF this was a push, BO 5 stands up next. He could have got up straight away but if the first hit was a pow then we aren’t chaining the troll, and BO5 could be used as an alternative way to get 2D. Either way, after this hit BO 2 moves across to tag C and D.

Now BO 3 can hit Lino A and chain the Troll down SW again. This time we want a pow to the Troll is free – 76%/84% with RR.
From there it is simply 2+ (stupid), 2+ dodge with break tackle, then 2 rushes for 2D. BO trolls don’t have loner anymore, so this is 48% to get to hit, 88% with 2RRs, then the hit is a blockless 2D vs no block – 55%/80% with RR for full pow but bothdown is acceptable here.
There’s not much chance of ball recovery here, so I also moved goblin 6 defensively before doing the Troll blitz. Not much of a safety but something. He too was kept available earlier in case I didn’t get the push/pow. Ball recovery after a pow would rely on Goblin #9 leaping over the stunned goblin… not great, but my opponent would have a lot of work to do.
Overall it’s about 21% to get the ball down without RR, 45% with 1RR, 56% with 2, and 59% with 3. I wouldn’t have RR the first 3D, but would have put 2 in for the Troll action if needed. 3 would have been too many in my opinion.

Goblin 1 or 2D

This is relatively simple. Stand up BO5, Smack lino A to free up a BO (3D), pushes are fine. Move the free Troll or BO3 to Tag lino B. Then dodge around Goblin 9 and 8 around the back and front, (3+/2+, 3+/3+/2+ with the 2+ changed to 3+ if Dodge not popped) and dodge blitz Goblin 6 between B and U (3+). Or could double rush and dodge Gob 7 if you want to keep 9 for recovery.
The answer is Goblin dodges are better if you aren’t prepared to put in RRs, slightly better with 1RR but worse if you are prepared to put in 2 or more. 24/46/52/53% for success assuming dodge/rush rather than double rush or double dodge.
The one issue with the Goblin dodge option is the fail state. Yes, you take an early blockful 3D and then move 3 BOs into relevant spots but the first dice thereafter has a 1/9 fail state vs 1/36 for each of the troll rolls. You can stop the troll at any point, whereas getting the first Gob into position doesn’t do much to stop progress for the next turn, so there is another critical pair of 1/9 for the second Goblin.
Should I have gone with the Goblins? Maybe.
On self-reflection I need to decide whether I chose the Troll just because it was cooler and that he had (randomed) break tackle. Sometimes we do stuff for the stories.
What about BO 2D?
The downed BO (#5) can also be chained onto the ball by filling the box by dodging the free Goblin #6 in behind the Ulf and next to the ball (3+). Then two free pieces fill in the upper part of the box at the top, then it is a -2D with the Goblin on the diagonal pushing pushing into the downed BO, who chains lino D upward. then the BO #5 get’s to his feet and blitzes. Goblin #9 can then recover.

So (3), -2D for pushes or better, 2D with Block. 29%/53% with RR.
This is the best 1RR option if you went for it straight off.
I’d be a little more risk averse, and so I’d do some smacking of lino A first (3D with block) to allow me to shove the Troll and BO #3 in front. While BO2 and 1 tie up the other pieces. With that extra hit we end up slightly lower success %, but still a very good option.
The disadvantage again is the order for the fail state -the 1/9 dodge is early, the -2D comes before the BO stands up, so if it fails, we don’t have any pressure and the valk is gone.
Final Conclusion
Now we’ve looked at the scenarios what would you do (you have 3RRs available, it’s turn 11).
There is one final consideration before we finish: contingency.
A lot of the variance in the troll hit calculation comes from whether I got pushes then pow for the first 3D. If those didn’t work as needed, then we could pivot to one of the other options relatively easily. This was why I wouldn’t RR the first 2x 3Ds if they were suboptimal but acceptable… but if they worked, then we only need the 4×2+ for a 2D vs not block. So that calculation is actually 69% with 1RR for the Troll blitz. The thing about the 2x3D, they didn’t carry much turnover risk (compared with the dodges/-2D) and didn’t use up too many activations.
On the table, my in-my-head soft calculations compared the outcomes after the 3Ds had resolved. The odds in any one turn shift as the dice resolve… the next dice are independent of the ones before.
I did go for Troll blitz.
I got all the dice to get the hit without burning any RRs, the troll even made the 5+ dodge and didn’t even pop break tackle. He then got pushes for the hit, rerolled into bothdown/push. I took the bothdown as there was another valk deep in the backfield who could have easily dauntless blitzed the troll off and freed the valk+.
On the turn after the valk collected again but didn’t get far away and the Troll was able to be chained in for another hit (pow, into stun and ball in crowd).
Final result: 1-0 Black Orcs and the troll was, rightly, the MVP.
We don’t judge by outcome though…


Leave a Reply